Get Started with Donorbox: Step-by-Step Guide
Donorbox is here to help you help others – and getting started takes just four simple steps. Follow this step-by-step guide to take your fundraising to the next level in only 15 minutes!

Donorbox is here to help you help others – and getting started takes just four simple steps. Follow this step-by-step guide to take your fundraising to the next level in only 15 minutes!
 Join the fundraising movement! Join the fundraising movement!
Welcome to Donorbox!
We realize you might have a few questions as you get started, so we created this step-by-step guide to help you work through them and quickly join more than 100,000 organizations using Donorbox to boost their fundraising.
Creating a Donorbox Org Account takes just a few minutes.
Select your country and the relevant option – Registered Nonprofit, Other Fundraisers, or Political Campaign or Committee – to get started.

If you’re a registered nonprofit, just enter your EIN and we’ll pull up your details. If you aren’t, simply enter some basic details like contact information and your organization’s description. Then, set your password.
That’s all! We don’t require any uploaded documentation from you to register.
On your Donorbox account, navigate to the “Campaigns” tab on the left side of your screen. Then, click “+ New Campaign.”

You’ll then be able to choose from one of these three campaign options:
Then, add your campaign details and create your donation form.
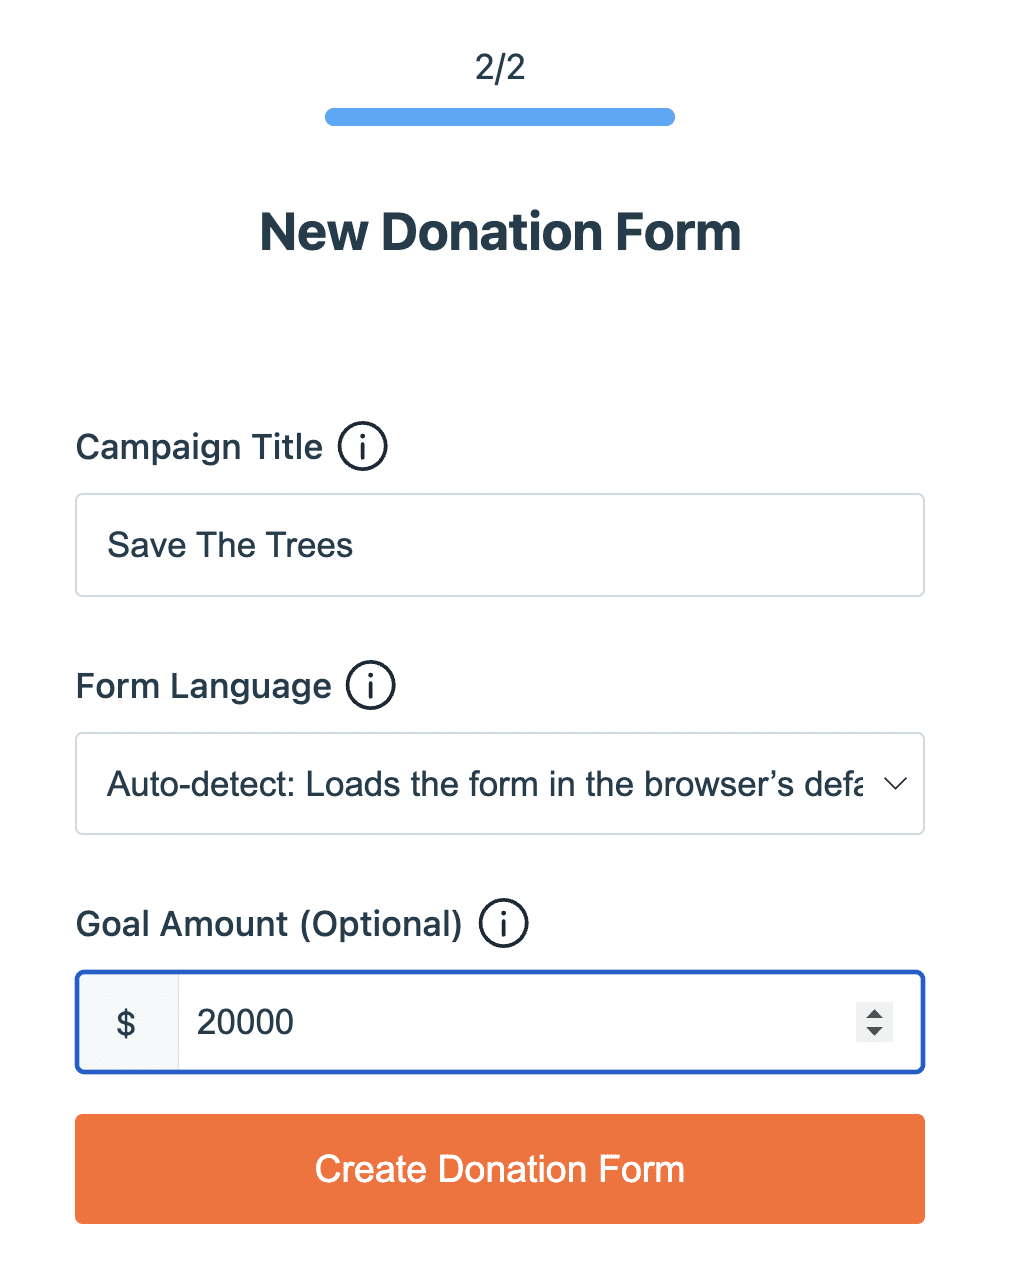
From there, you’ll be guided through each step of building your form.
Customize your donation form to match your branding and instill trust among donors.
Donorbox gives you the option to select between two fantastic form types: our Classic Donation Form and our OmniGive™ Donation Form. While both are excellent, we recommend you utilize the OmniGive Donation Form.
The OmniGive Donation Form unlocks a plethora of added benefits for your organization, including expanded payment methods and exciting form customization options that enable greater control and flexibility. Learn more about the benefits of the OmniGive Donation Form in this blog post.
First, let’s customize the basic appearance of your donation form.
Under “Basic Customization,” edit the primary color of your form, along with the button color and shape (choose default, round, or sharp).

Pro and Premium users can access Advanced Customization features, which include custom themes and the ability to upload header and trust badge images, as well as images for donation amounts. Experience next-level customization that lets you create the most unique and engaging donation form experience – change font style, background colors, and so much more. Plus, prebuilt themes are coming soon!

Next, add your call-to-action message and up to four recurring giving intervals, setting one as the default and another as your recommended interval.
Once you’ve customized the essentials of your OmniGive Donation Form, navigate through the rest of the left-hand sidebar to finish editing your form. Enable multiple-currency giving and tribute donations, customize donation amounts, add designations, and more.
For each change you make, hit “Save and Preview” for an idea of what your form will look like in real time, as shown below:

From the form editor, you can also enable the following features:
You can also enable the option to ask donors to cover all transaction fees, which includes the Donorbox platform fee and payment processor fee.
Then, customize your donation receipt emails and choose whether you’d like to include compliance and disclaimer information.
Once you’ve gone through the editor and customized your form to fit your needs and branding, click “Save.”
Important to note: UltraSwift™ will not be enabled under the following circumstances:
- If the GDPR option on Compliance & Disclaimer is active for the campaign.
- If employment information is collected.
- If custom questions exist on the information page of your campaign.
Once you’ve finished setting up your donation form, return to the “Build Your Campaign” page to edit your donation page, enable mailing list subscriptions, add additional questions for donors, enable Peer-to-Peer, and more.

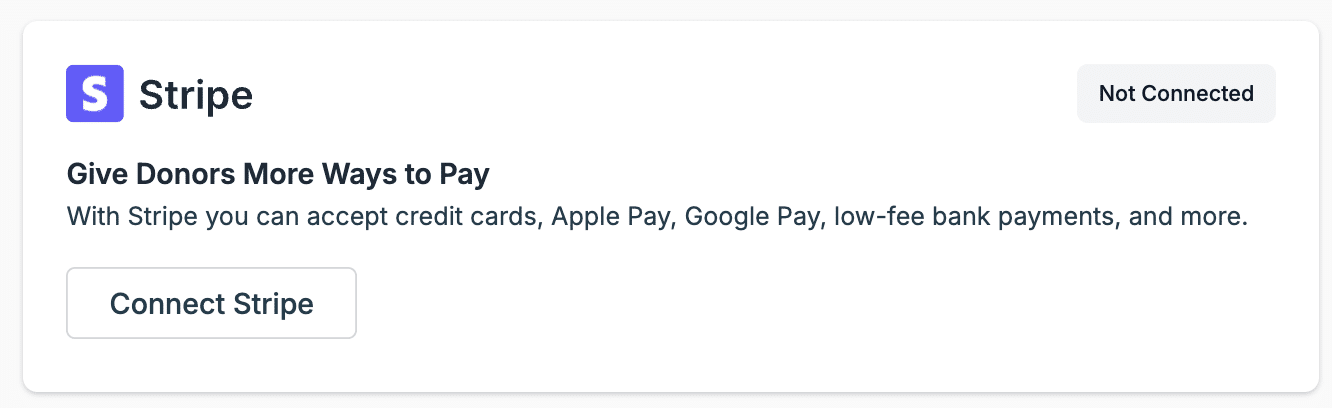
Donorbox supports two payment processors: Stripe and PayPal.
Stripe is our main payment processor. It offers robust security and allows you to offer more than 22 different payment methods via the OmniGive Donation Form. Donors will have even more ways to give to your cause, and you’ll expand your global reach and raise even more for your mission.
Please note: The availability of payment methods is subject to Stripe’s terms and conditions. If you have any questions about certain payment options and their availability in your country/region, please contact Stripe for more information.
PayPal is another great payment processor that is highly regarded for its data security.
To maximize your donations, sign up for both Stripe and PayPal so that donors can choose their preferred method of payment. Donorbox does not hold any donations for any period of time. All donations get processed directly via Stripe and PayPal.
Visit this page for a complete list of payment methods available with Stripe and PayPal.
Stripe charges a 2.2% + 30¢ fee per transaction, and PayPal charges a 1.99% + 49¢ fee per transaction. If you are a registered 501(c)(3) nonprofit, contact to get discounted Stripe fees. Learn more about their discount requirements here. Apply for a discounted rate at PayPal’s Nonprofit Center.
Donorbox offers three plans, built to grow with your organization:
View our pricing guide to learn more.
Stripe will automatically transfer your funds from your Stripe account to your linked bank account based on the payout schedule listed on your dashboard..
For supported countries, your payout speed will be two business days, with a daily automatic payout schedule. You may adjust this on your Stripe dashboard to weekly automatic, monthly automatic, and manual payouts. However, your first transfer may take a little longer (around 7 days). In most other countries, transfers are completed every 7 business days.
For more information about the exact transfer time in your country, click here.

Due to our security measures, you may only connect a PayPal business account.
Unlike Stripe, PayPal requires you to initiate the transfer of your funds from your PayPal account to your bank account. After you’ve initiated the transfer, the funds will arrive in your bank account within three to five business days.
Now that you’ve created a brand-aligned donation form and connected your payment processor/s, it’s time to deploy your campaign!
Edit and share your Donorbox-hosted donation page, which features the donation form you just built.
Or, you can share your donation form in the following ways:
However you want to share your form, you don’t need any programming experience. From your new campaign, click on “</> Share & Embed.”

From there, you’ll find pre-rendered code for all the sharing options listed above. You’ll also find the code to embed the following campaign features:
If you use specialized web builders such as WordPress, Wix, Squarespace, Weebly, and others, our platform-specific installation guides may be useful.
Soon, you’ll be collecting donations and building lasting connections with donors!
Check out this short video for another look at the four simple steps to get started!
One way to launch your donation form is to embed it directly on your website, like Project Street Vet did. Donorbox will generate the embed code – you just need to copy and paste it!

Return to the “</> Share & Embed” page and click on “Embedded Form” from the menu. Once you’ve made the necessary changes to your form, copy the code based on the type of form you’ve created (OmniGive™ Donation Form or Classic Donation Form), as shown below:

Simply paste it into your website editor, and you’re good to go!
To showcase your legal disclaimer on your embedded form, tick the checkbox as shown below. Note that the legal disclaimer will not appear on popup content panels.

If you change any settings within the “</> Share & Embed” page after you’ve already embedded the code on your website, please re-embed the code to ensure the changes you’ve made reflect on your embedded OmniGive donation form.
Note: If you are embedding the donation form, your website must have an SSL certificate. Otherwise, your donor’s credit card details can be compromised.
Instead of redirecting donors to a separate donation page, enable your donation form to pop up as an on-screen overlay when someone clicks the “Donate” button. This is a great way to collect donations without donors ever having to leave your website or navigate to a different page.
Here’s an example of a pop-up form from Through Peace:
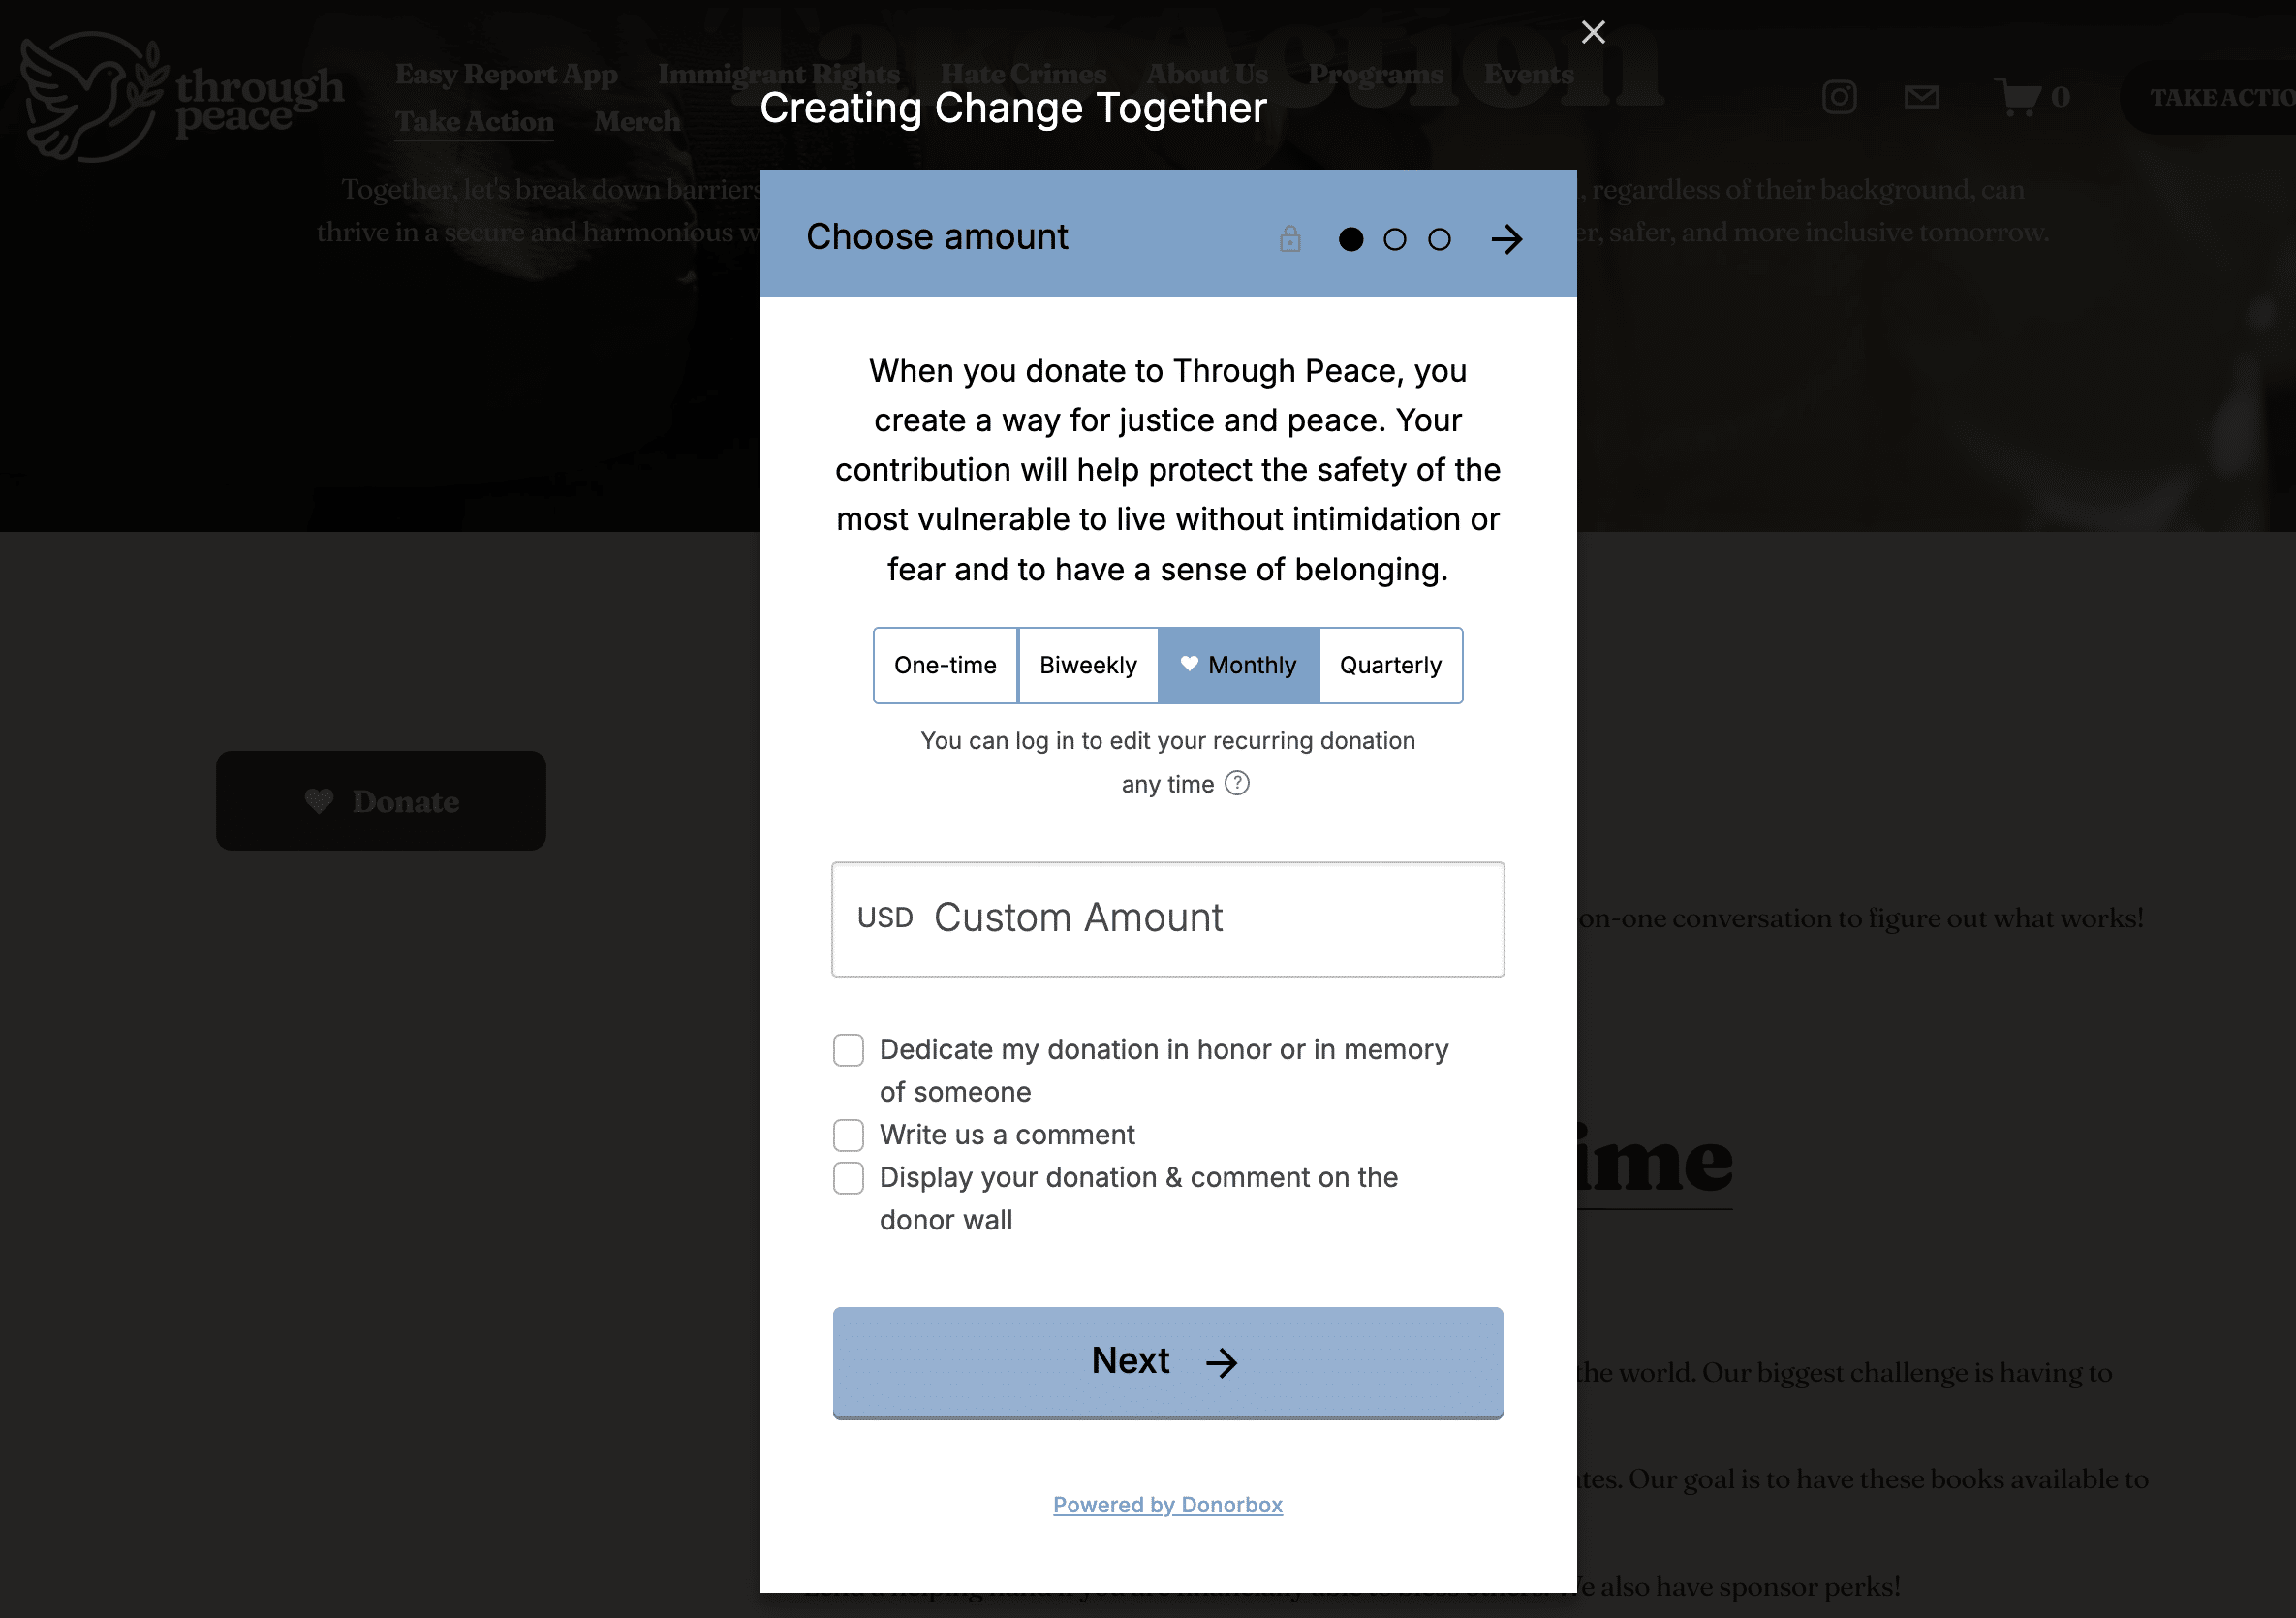
Click the Donate button below to see how the pop-up form works:
To add your pop-up form to your website, click on the “</> Share & Embed” button on your campaign, then select the “Popup Form” tab. Customize your button by adjusting the text and color. Pro and Premium users can also include a content panel for additional context so donors don’t have to leave the form to learn more about the campaign!
For more details on how to add a pop-up form to your website, check out our pop-up installation guide.

Attract donors to your pop-up form with a Sticky Donate Button that anchors to the side of the screen. This can increase the amount of donations you receive by up to 55%!
You can also add a Giving Reminder to your pop-up form. Whenever someone interacts with your pop-up form but doesn’t complete their donation, they’ll see a gentle reminder in the bottom right-hand corner of their screen.
Here’s an example of a website with the Sticky Donate Button and Giving Reminder enabled:

A Donate button can be placed anywhere and will take donors to your Donorbox-hosted donation page. It works great within emails, too, if you want to include a PNG donate button as part of your email message.
You can also turn your donation page’s donate button into a Sticky Donate Button.
To do this, return to your campaign page and click the “</> Share & Embed” option on your campaign. Next, select “Donate Button” from the sidebar. Customize your button to meet your preferences, and select a default recurring interval. You can also adjust the alignment of your button, include a pre-filled donation amount, and enable the tiny heart icon.
Once you’re happy, copy the embed code for the CSS button and paste it into your website. For email and GitHub pages, select the “PNG” button format at the bottom of the screen.


With your customized donation form, you can easily build a donation page like the one from Black Girls Code above, hosted for free on Donorbox.
Having a donation page hosted on Donorbox provides the following perks:
The first step is to customize your donation page. Return to the campaign you created above and click on the “Edit” icon. Next, click on the “Essentials” tab underneath the “Donation Page” section.

Add your logo and a background image, provide details about your campaign, set up your goal meter, enable a donor wall, and more. Then click “Save Changes.”
Next, click on the “Campaign Details” tab on the top left, navigate to the “Share & Embed” section, and copy the link to your donation page. Share your campaign on social media, via email, or on your website. Alternatively, link to your donation page from a donation button on your website (option 3 above).
On the bottom left of the sidebar, click on the arrow next to your organization name. Next, select “Settings” and click on “My Plan.” Here, you’ll see information about your current plan, your upgrade options, the number of team members you have (and how many you have remaining), and any add-ons you currently have enabled.
You can also view any available add-ons to make the most out of your Donorbox account!

You’re all set! We can’t wait to help you help others, and hope that this guide has been helpful in getting you started with Donorbox.
For product-specific articles, fundraising tips, and comparison articles, visit our Nonprofit Blog. Don’t forget to subscribe to our monthly newsletter for exclusive fundraising insights and tips delivered straight to your inbox!
Need further assistance? Drop us an email at any time – our legendary customer service team is happy to help!

Charles Z is the Founder and CEO of Donorbox. He has been starting companies and numerous web applications since college. Nowadays he is immersed and wildly excited about the future of the social impact sector.
Join the fundraising movement! Join the fundraising movement!
Subscribe to our e-newsletter to receive the latest blogs, news, and more in your inbox.
