Your nonprofit needs a fundraising platform that offers you modern, dynamic, and effective giving tools at affordable pricing plans. Donorbox is here to help - and getting started takes just four simple steps. Follow this step-by-step guide to take your fundraising to the next level in only about 15 minutes!
We realize you might have a few questions as you get started, so we created this step-by-step guide to help you work through them and quickly join the over 50,000 organizations that use Donorbox to boost their fundraising.
It takes just four steps to go from creating a Donorbox account to deploying your first donation form. It’s really simple! Ready? Let’s go!
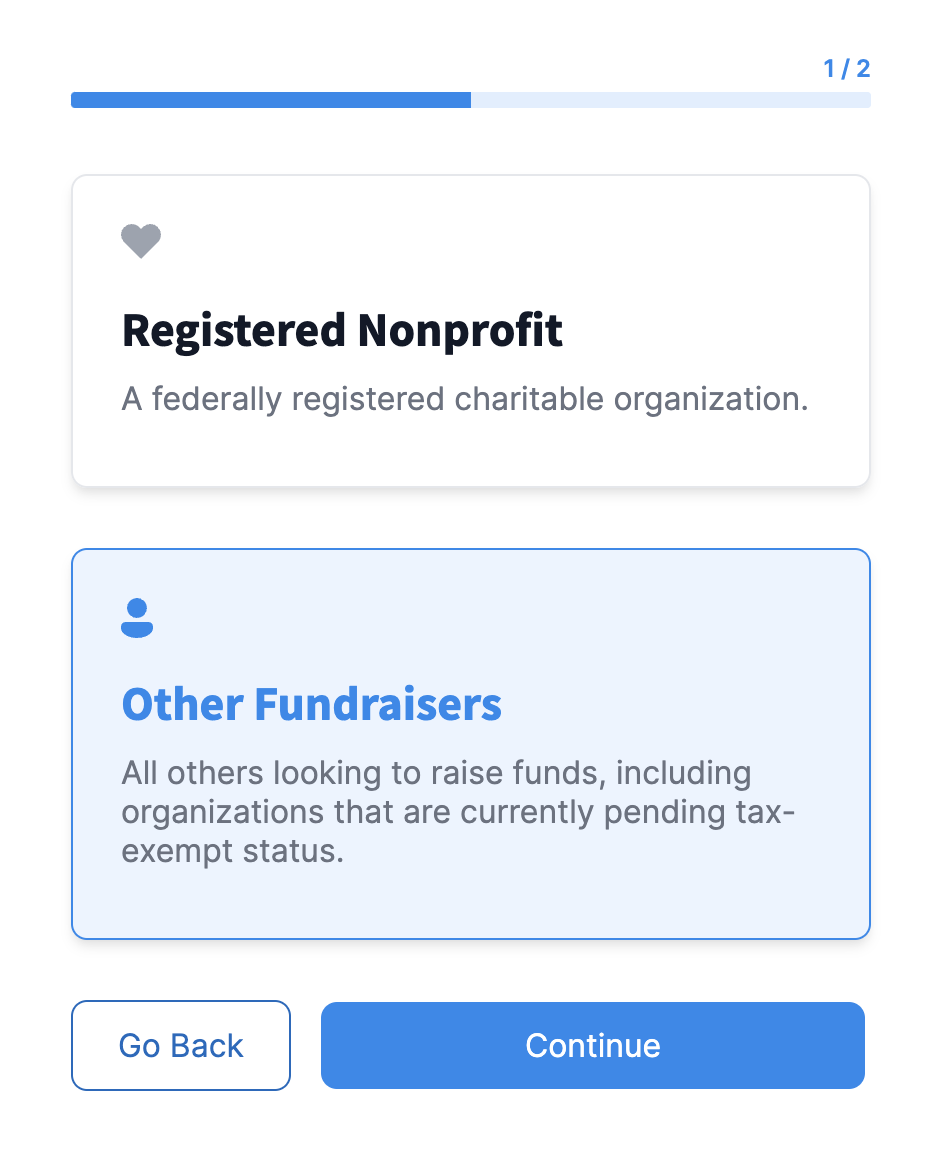
If you are a registered nonprofit, select that option and enter your EIN. This will pull up your organization’s information. If you don’t have an EIN or aren’t a registered nonprofit, select “other fundraisers.”
From there, you’ll enter some basic details like contact information and organization subscription. You’ll also set your password. That’s all! We don’t require any uploaded documentation from you to register.
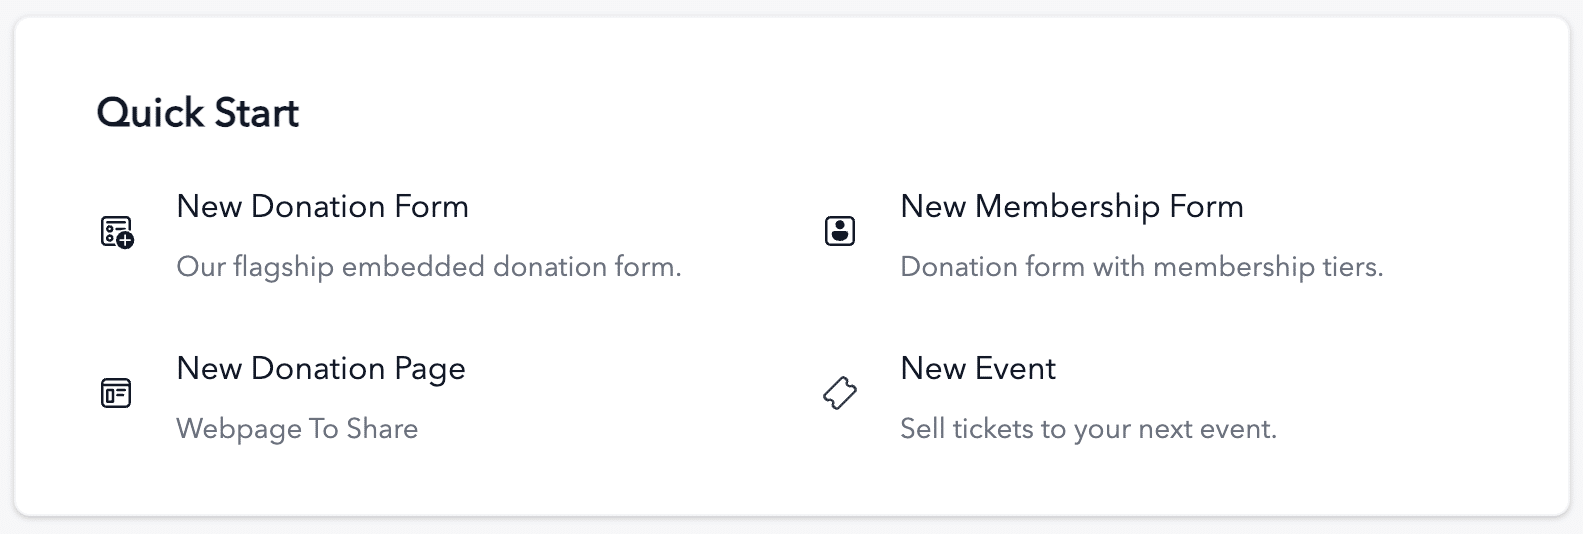
Step 2: Create a Donation Form
On your Donorbox dashboard, locate the Quick Start menu. From here, you can choose to create a donation form, membership form, donation page, or event page. In this blog, we’ll show you how to create our flagship embedded donation form.
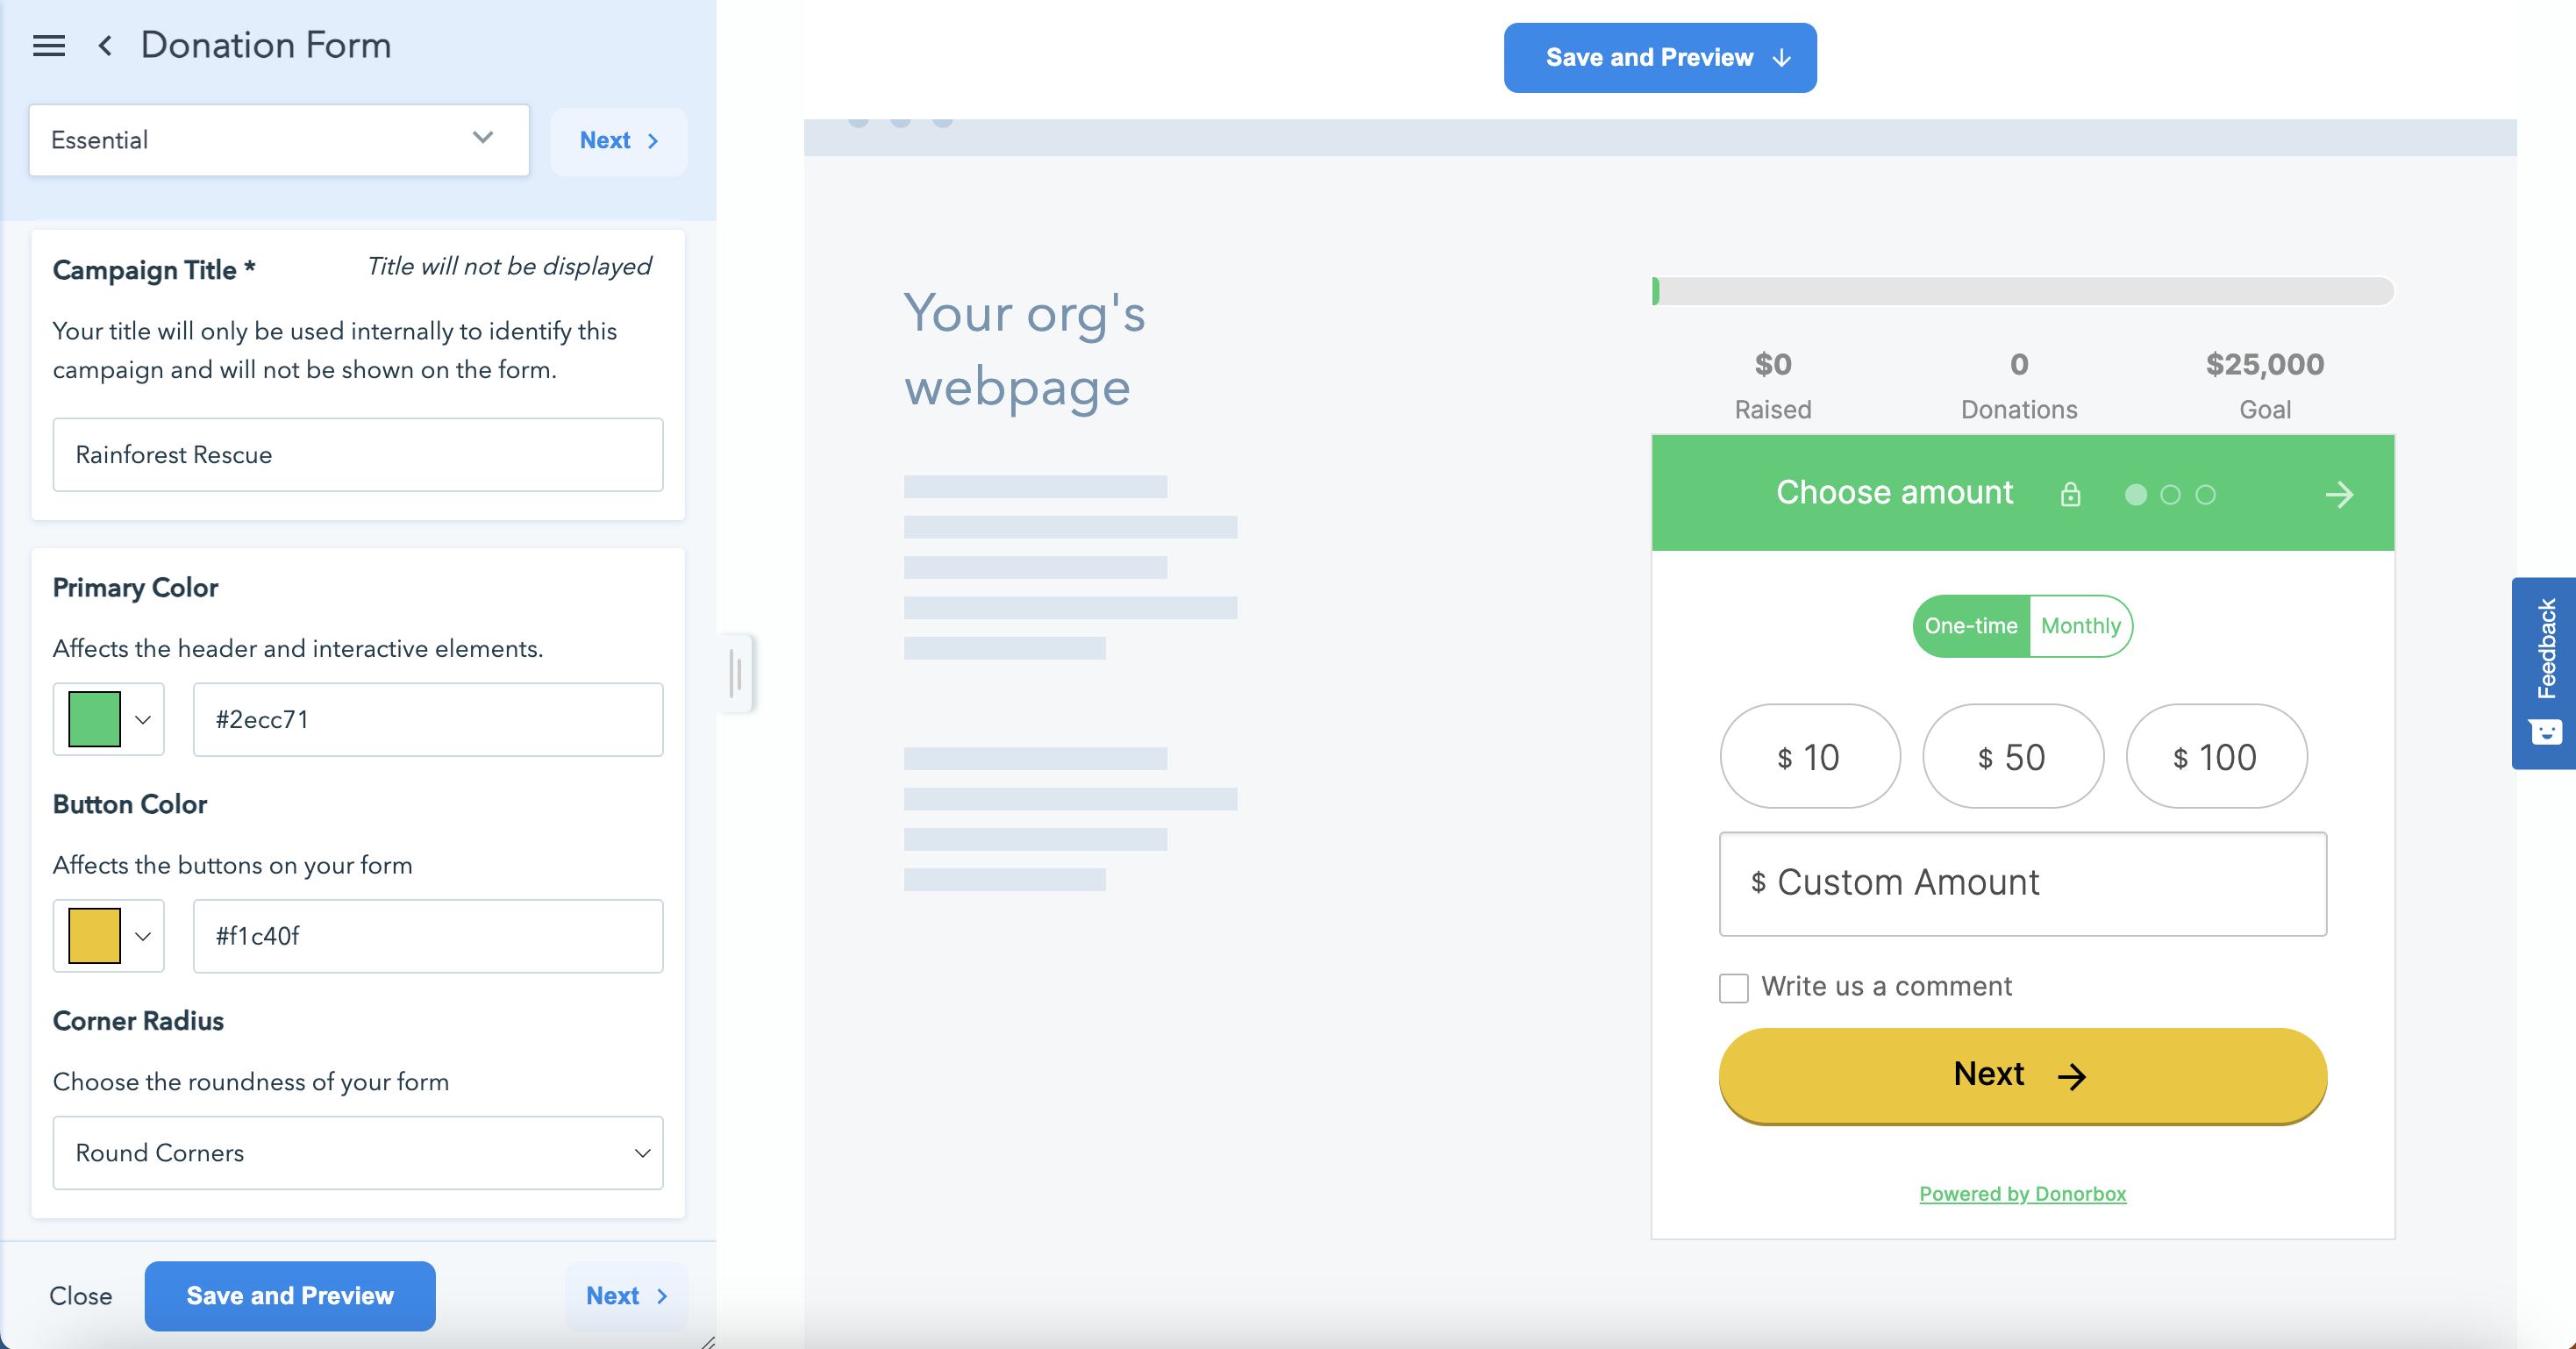
Click “New Donation Form.” You’ll be prompted to add details about your campaign.
From there, you will be guided through each step of building your campaign form. Customize your donation form to match your branding, add pre-filled donation amounts to your form, and choose up to four recurring donation intervals, setting one as preferred and one as default. You can also add additional questions and enable tribute and destination donations. For each change you make, you can hit “Save and Preview” to see how your choices will look.
From the form editor, you can enable the following features:
Donor Portal with QuickDonate™ allows your donors to opt into getting their own Donorbox account, where they can easily repeat their donation with a lick.
Crypto and Stock giving (for Pro and Premium accounts) enables our powerful integration with The Giving Block to offer more donation options for your donors.
UltraSwift™ checkout offers donors a faster way to pay using Apple Pay, Google Pay, PayPal, and Venmo.
You can also choose to ask donors to cover all transaction fees, including both the Donorbox platform fee and payment processor fee.
Once you have gone through the editor and customized your form to fit your needs and branding, click “Save.” If you choose, you can then edit your donation page, which will feature the form you just created.
Step 3: Add a Payment Processor
Donorbox supports two payment processors: Stripe and PayPal. Stripe is our main payment processor, and we can’t recommend it enough – it’s safe, efficient, and cost-effective. But PayPal is great, too! They are both highly regarded for their data security.
To maximize your donations, it’s best to sign up for both Stripe and PayPal so that donors can choose their preferred method of payment. Donorbox does not hold any donations for any period of time. All donations get processed directly via Stripe and PayPal.
If you are only planning to connect to one payment processor, we highly recommend that it be Stripe. It gives donors a wider variety of payment options like debit/credit cards, ACH, and SEPA. Google Pay and Apple Pay are also both supported (due to Apple’s strict domain matching security measure, Apple Pay will only work on your Donorbox-hosted secure donation page).
Stripe charges a 2.2% + 30¢ fee per transaction and PayPal charges 1.99% + 49¢ fee per transaction. If you are a registered 501c3 nonprofit, contact to get discounted Stripe fees. Learn more about their discount requirements here. Apply for a discounted rate at PayPal’s Nonprofit Centre.
Donorbox is free to start and charges a small platform fee of 1.75% for the month’s donations. Check out our pricing guide for details of what your payment processing and Donorbox fees may look like and to explore our other plans.
Here is how you can connect Stripe and PayPal
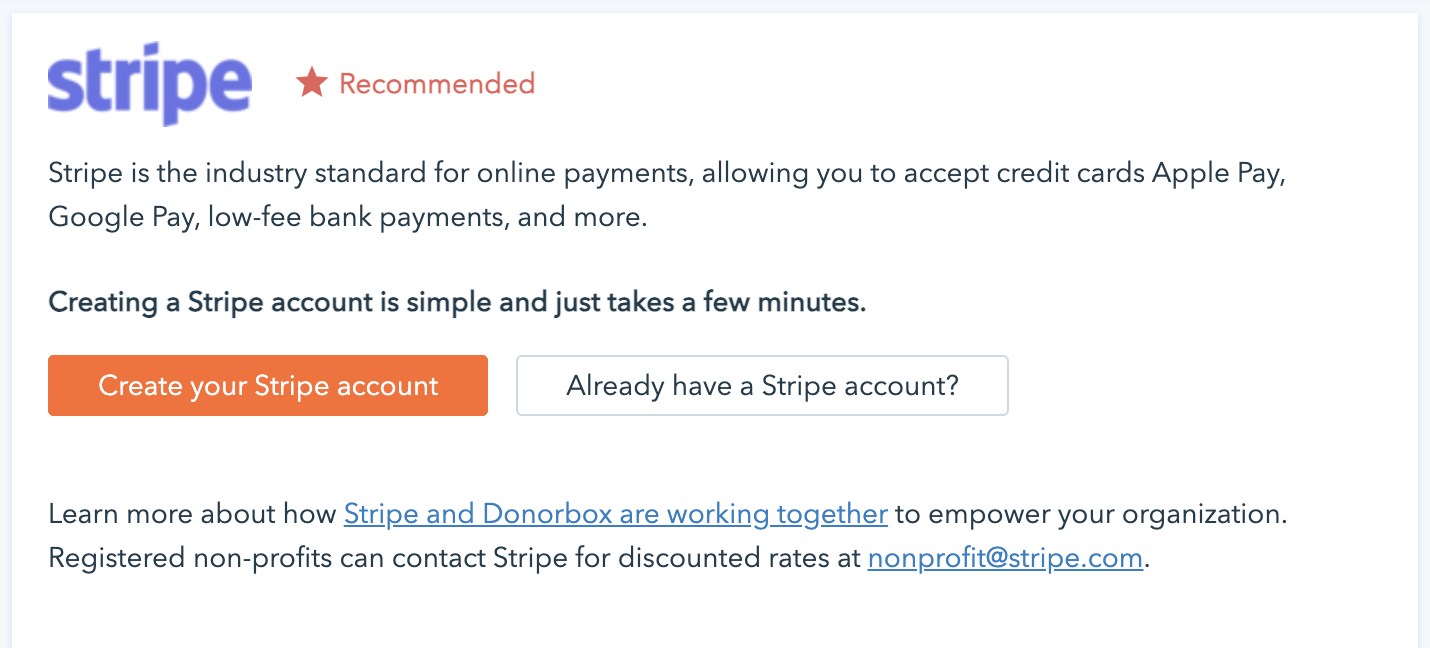
3.1. Connect with Stripe
To create a new Stripe account, click the “Create Your Stripe Account.” Setting up your Stripe account is quick and easy.
To connect to an existing Stripe account, simply enter that email address. Select the sign-in button and follow the instructions.
Once you fill out and submit the form, you will be redirected back to your Donorbox dashboard, and you’ll be ready to go!
Stripe will automatically transfer your funds from your Stripe account to your bank account based on the payout schedule listed on your dashboard.
For supported countries, your payout speed will be two business days, with a daily automatic payout schedule. You may adjust this on your Stripe dashboard to weekly automatic, monthly automatic, and manual payouts. However, your first transfer may take a little longer (around 7 days). In most other countries, transfers are completed every 7 business days.
For more information about the exact transfer time in your country, click here.
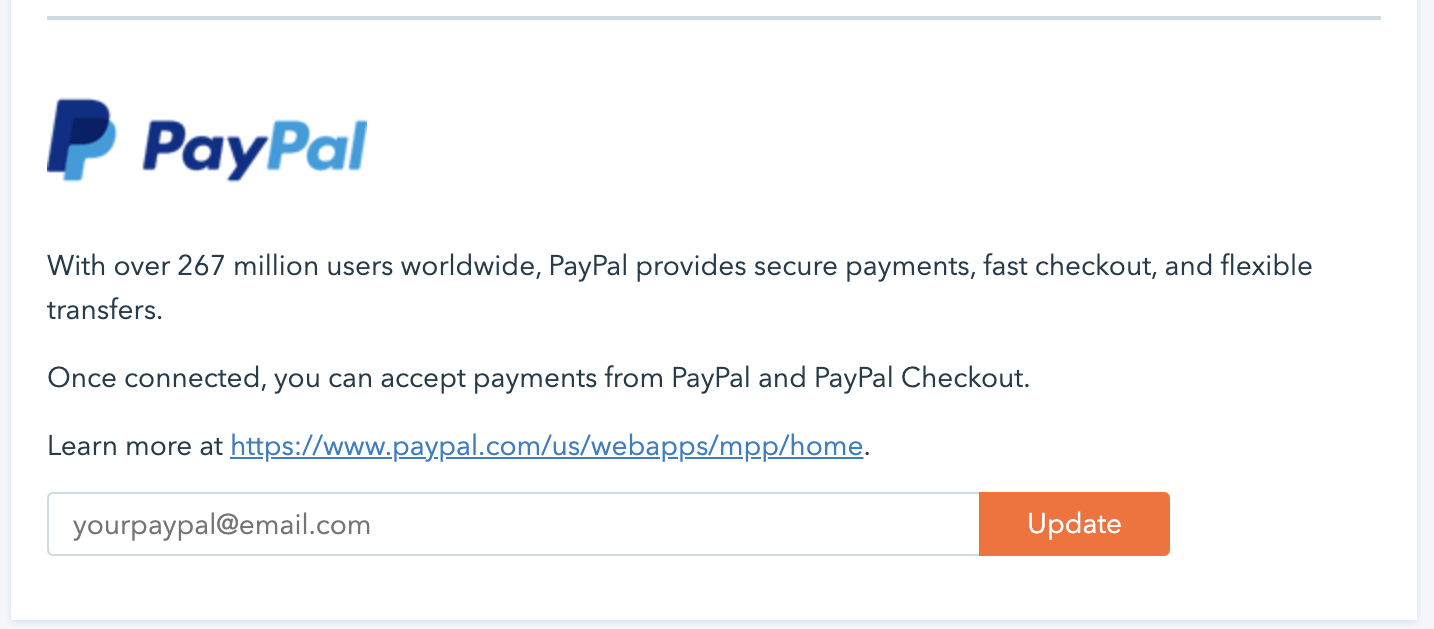
Simply click the “Connect Payment Processor” link on your Donorbox dashboard.
Enter your email address in the PayPal field, click “Update” and you’re all set!
Unlike Stripe, PayPal requires you to initiate the transfer of your funds from your PayPal account to your bank account. After you’ve initiated the transfer, the funds will arrive in your bank account within three to five business days.
Step 4: Go Live!
You’ve created a streamlined, attractive donation form designed to bring in more donations. You’ve connected your preferred payment processor. Now it’s time to deploy your campaign!
You can choose to edit your donation page hosted on Donorbox, which will feature the donation form you just built. Or you can share your donation form in the following ways:
Connect donors to it with a linked donate button – either a CSS or PNG button
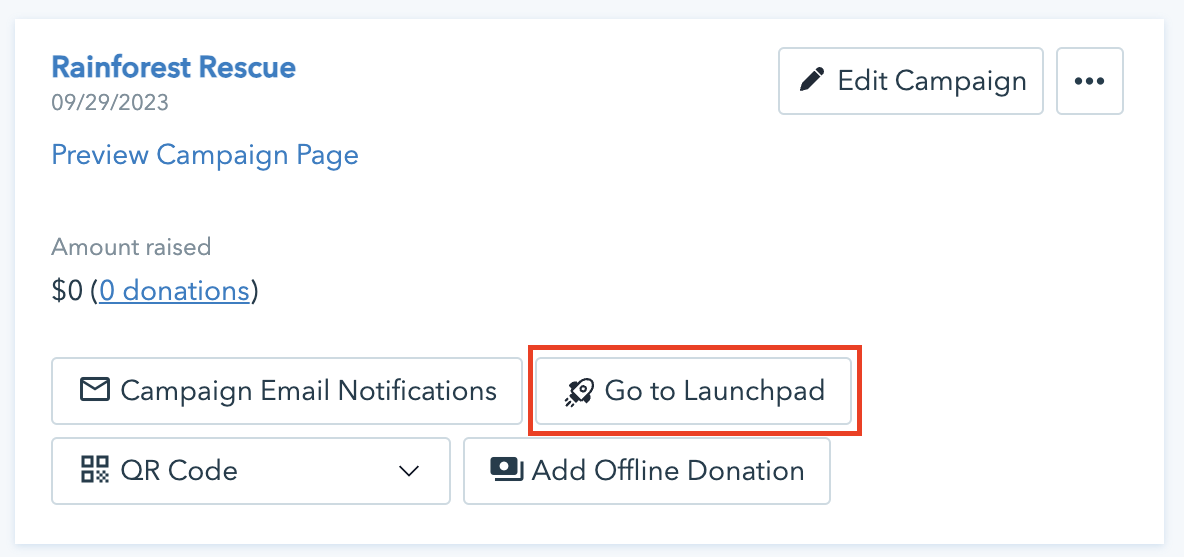
However you want to share your form, you don’t need any programming experience. From your new campaign, click “Go to Launchpad.”
From the Launchpad, you’ll find pre-rendered code for all the sharing options listed above. Here you will also find the code to embed or link to the following campaign features:
A donor wall
A goal meter
A fundraising/crowdfunding page
If you use specialized web builders such as WordPress, Wix, Squarespace, Weebly, and others, our platform-specific installation guides may be useful.
Soon you’ll be collecting donations and building lasting connections with donors!
Video Tutorial
Check out this short video for another look at your four simple steps to get started!
Four Ways to Go Live With Your Campaign
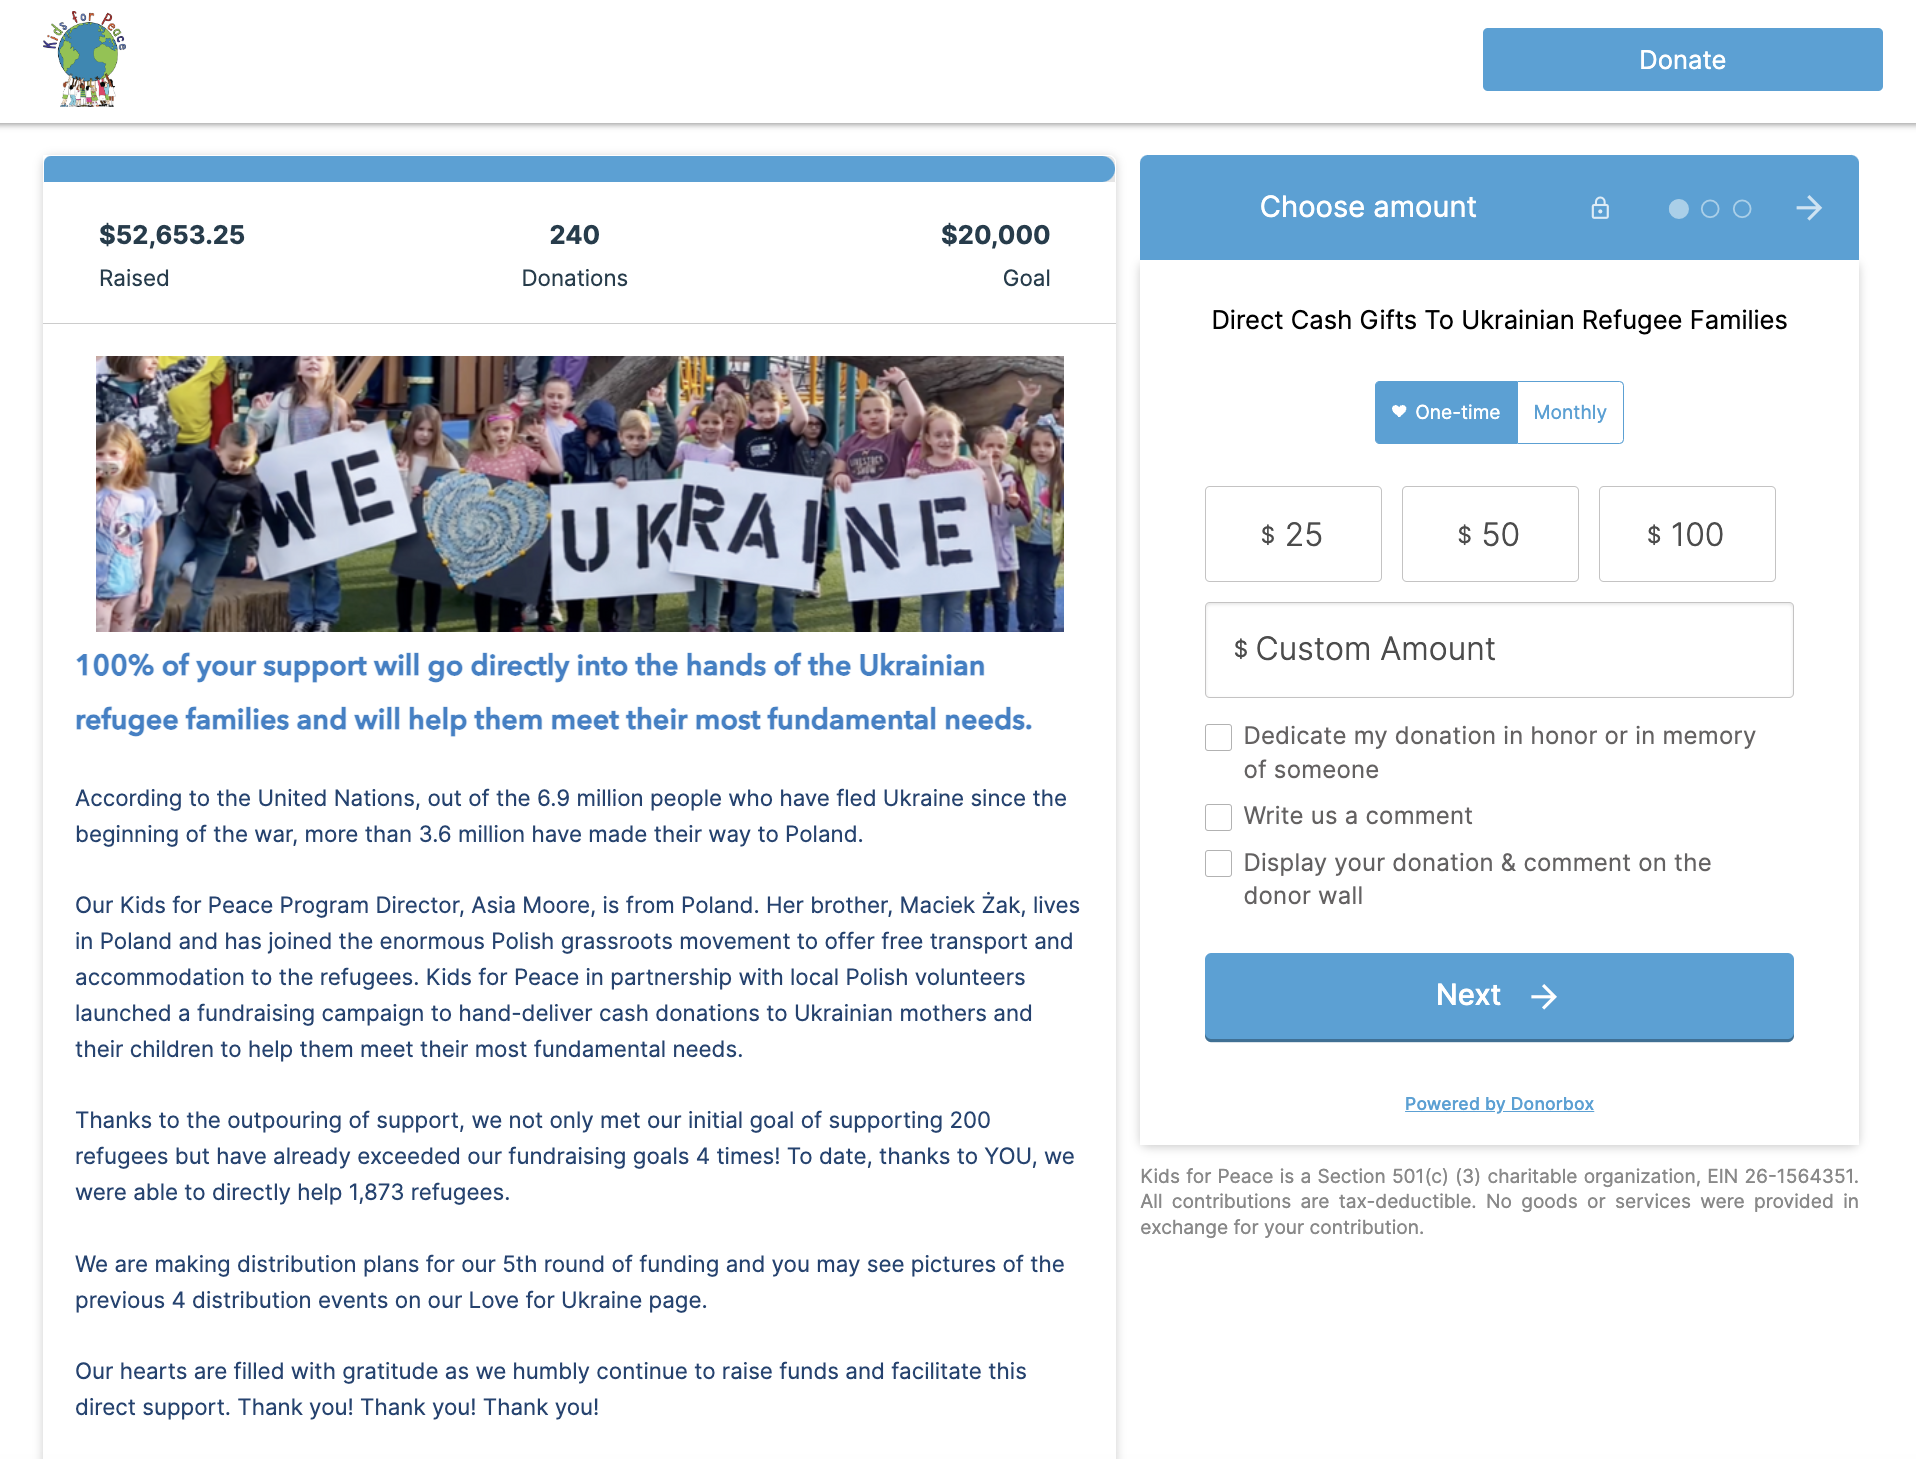
1. Donorbox-hosted Donation Page
With your customized donation form, you can easily build a donation page like this one hosted on Donorbox.
Having a donation page hosted on Donorbox provides the following perks:
No need for a website to start bringing in donations!
Use custom domains to create a seamless experience for your donors
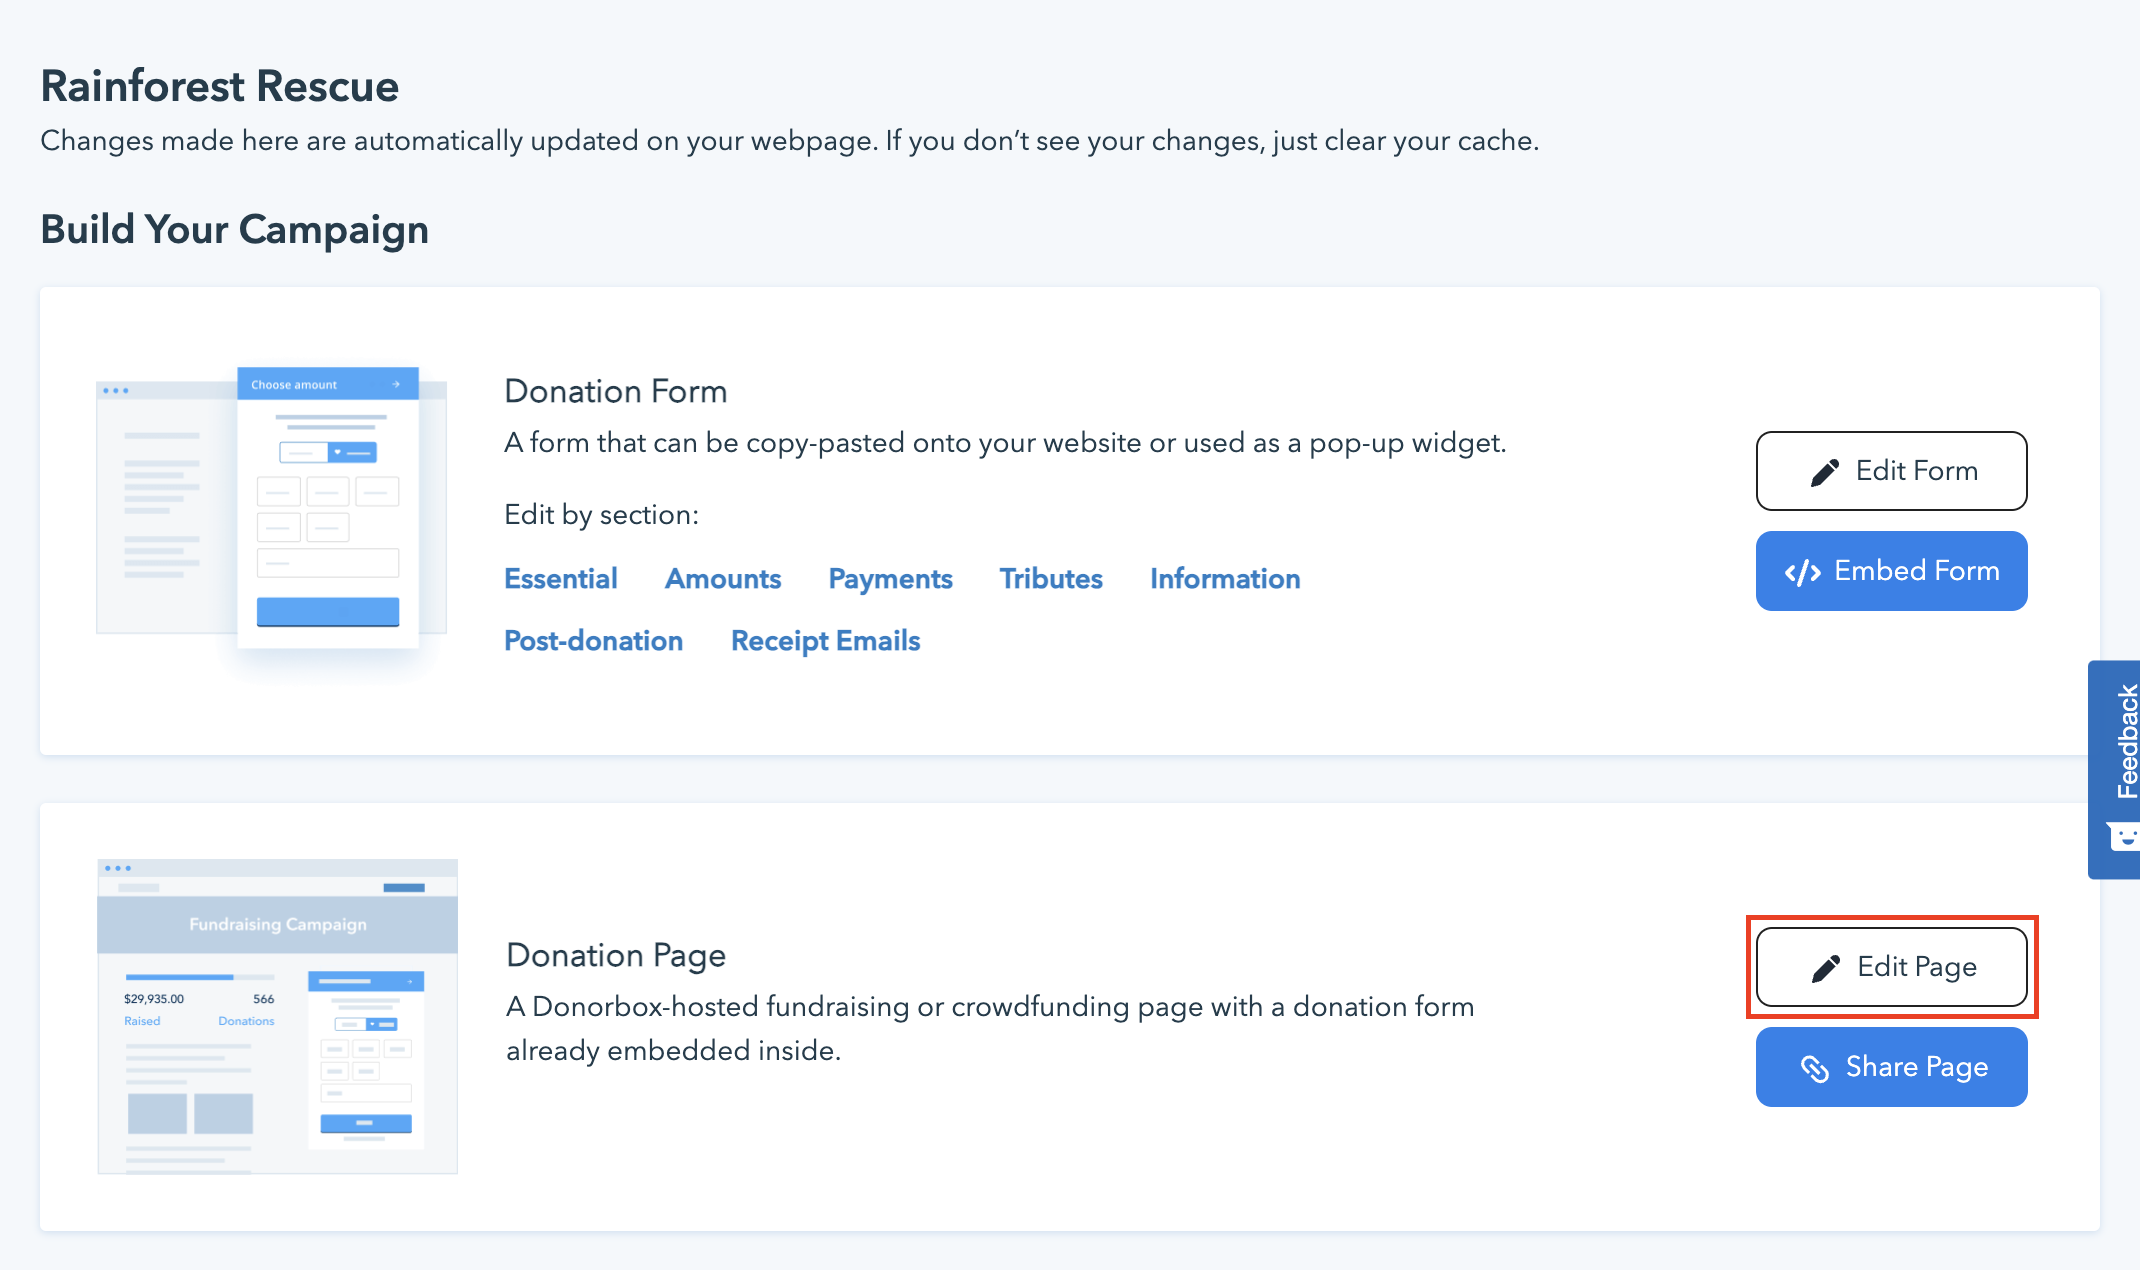
First, you’ll want to customize your donation page. Return to the campaign you created above and click “Edit Page” under “Donation Page.”
From there, you can add your logo and a background image, set up your goal meter, enable a donor wall, and more. Then click “Update.”
You can link to your donation page from a donation button on your website, as described below, or you can share the link on social media, through email, and on your website.
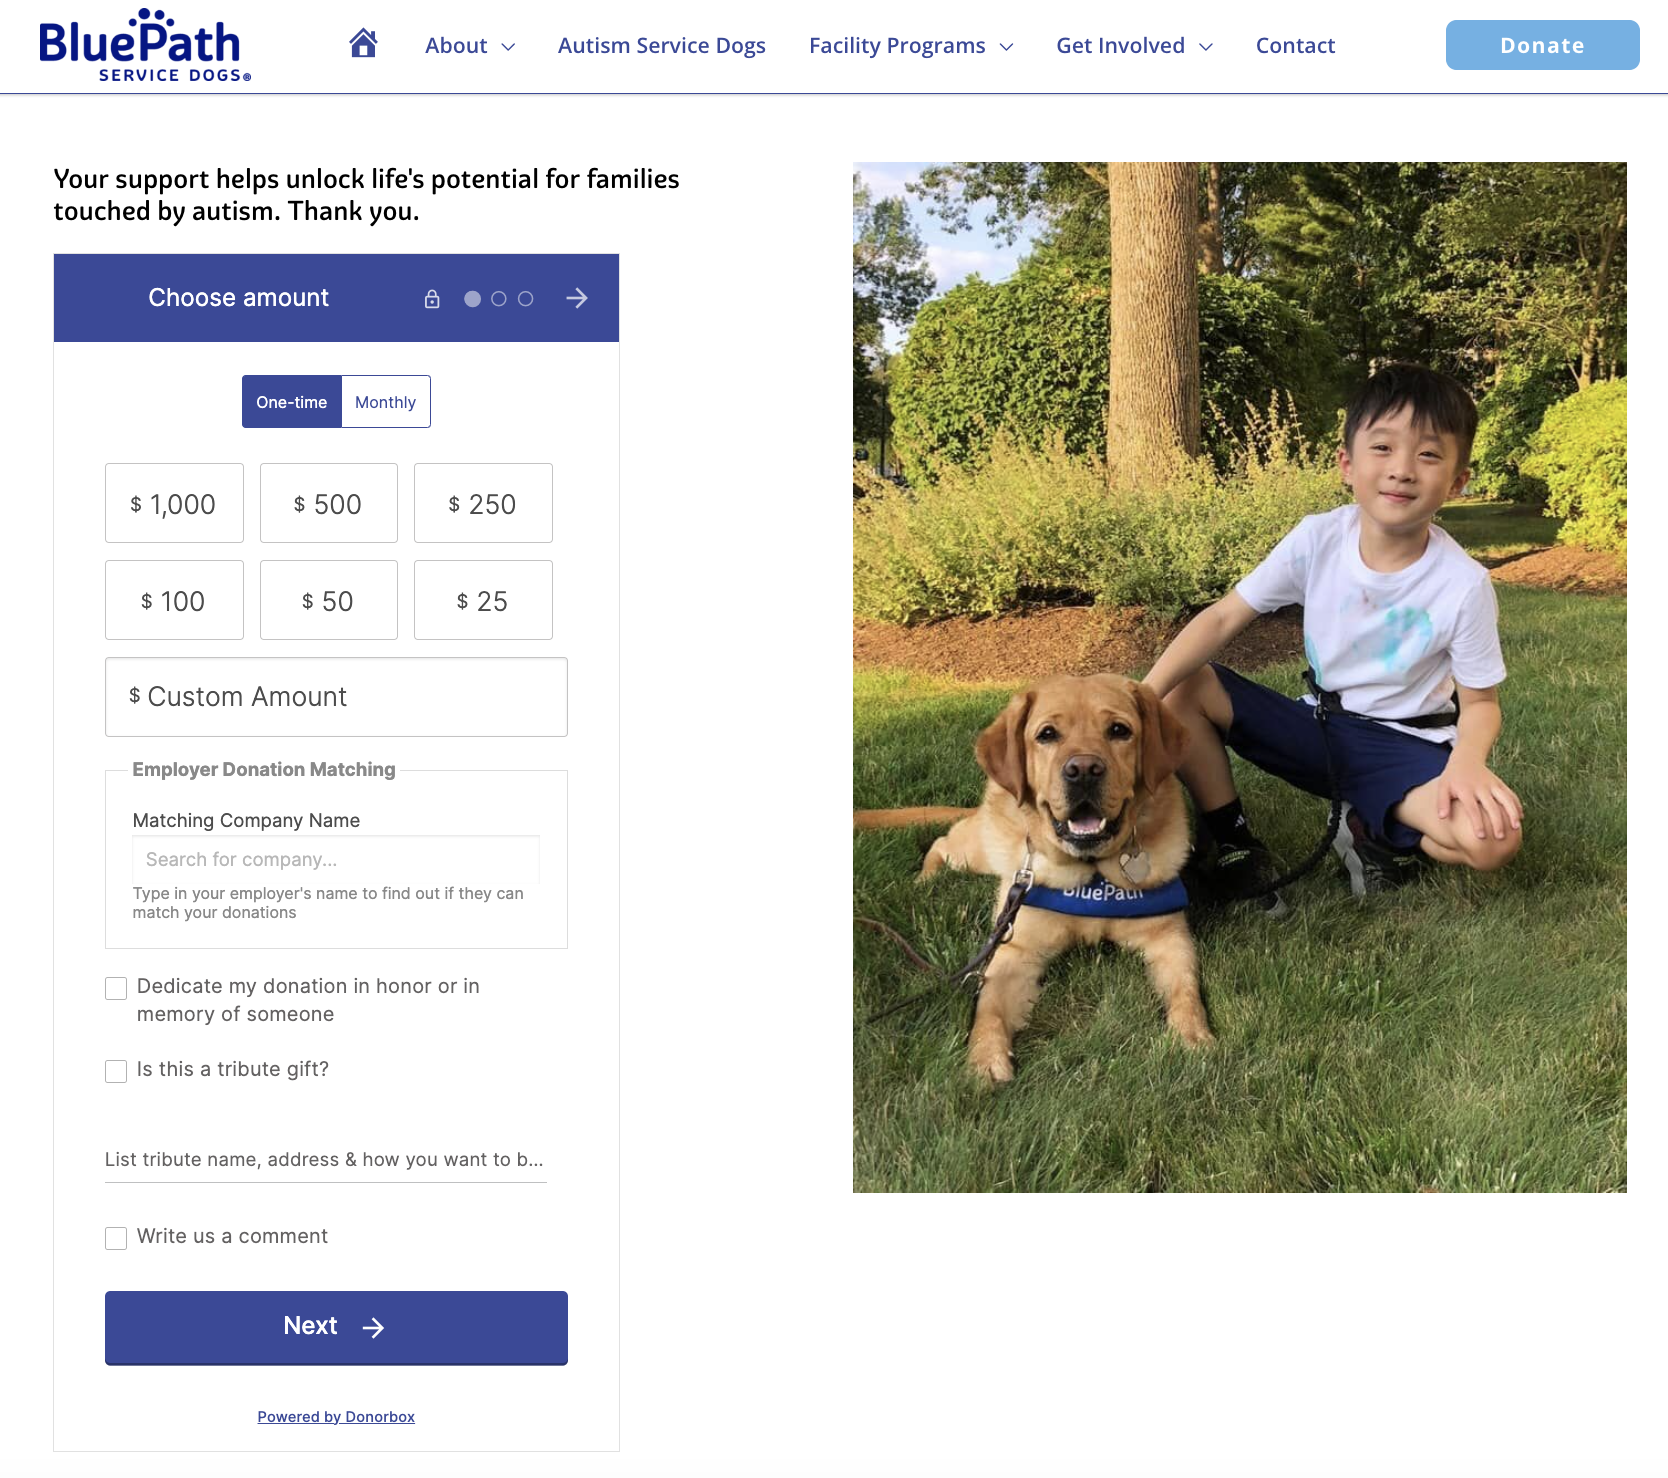
2. Embedded Form
The second option is to embed the donation form directly on your website like this organization did. Donorbox will generate the embed code – you just need to copy and paste it!
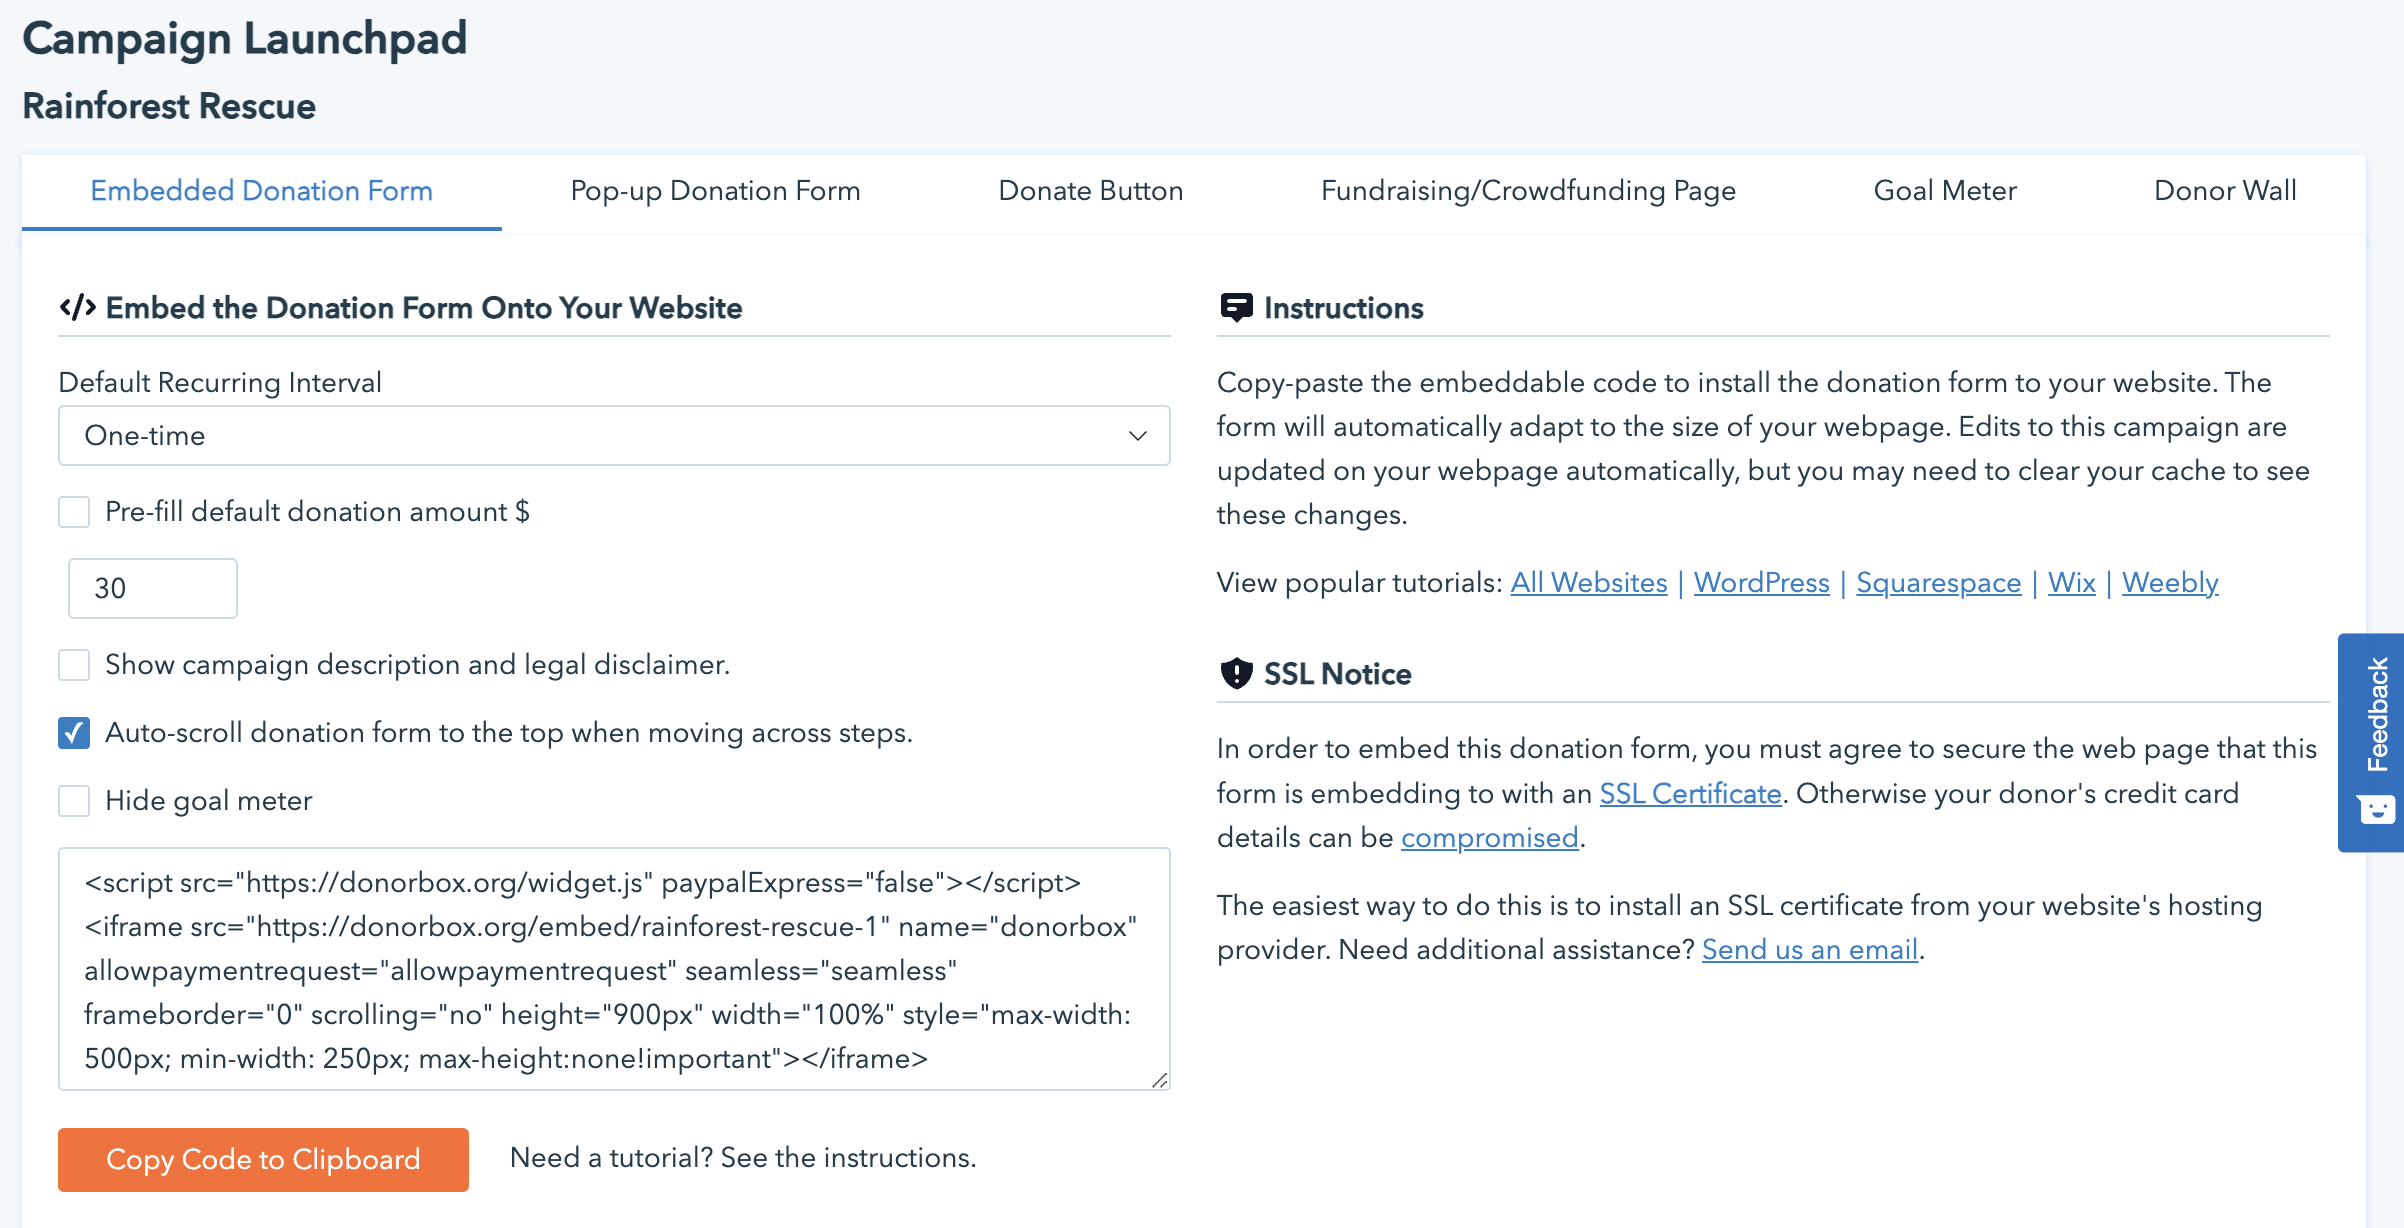
Return to the Campaign Launchpad. Click “Embedded Donation Form” from the menu at the top. From here, you can make changes to your form before copying the code.
When you are happy with your form, simply copy the code and paste it into your website editor.
Note: If you are embedding the donation form, your website must have an SSL certificate. Otherwise, your donor’s credit card details can be compromised.
3. Donate Button Linked to a Pop-Up Form
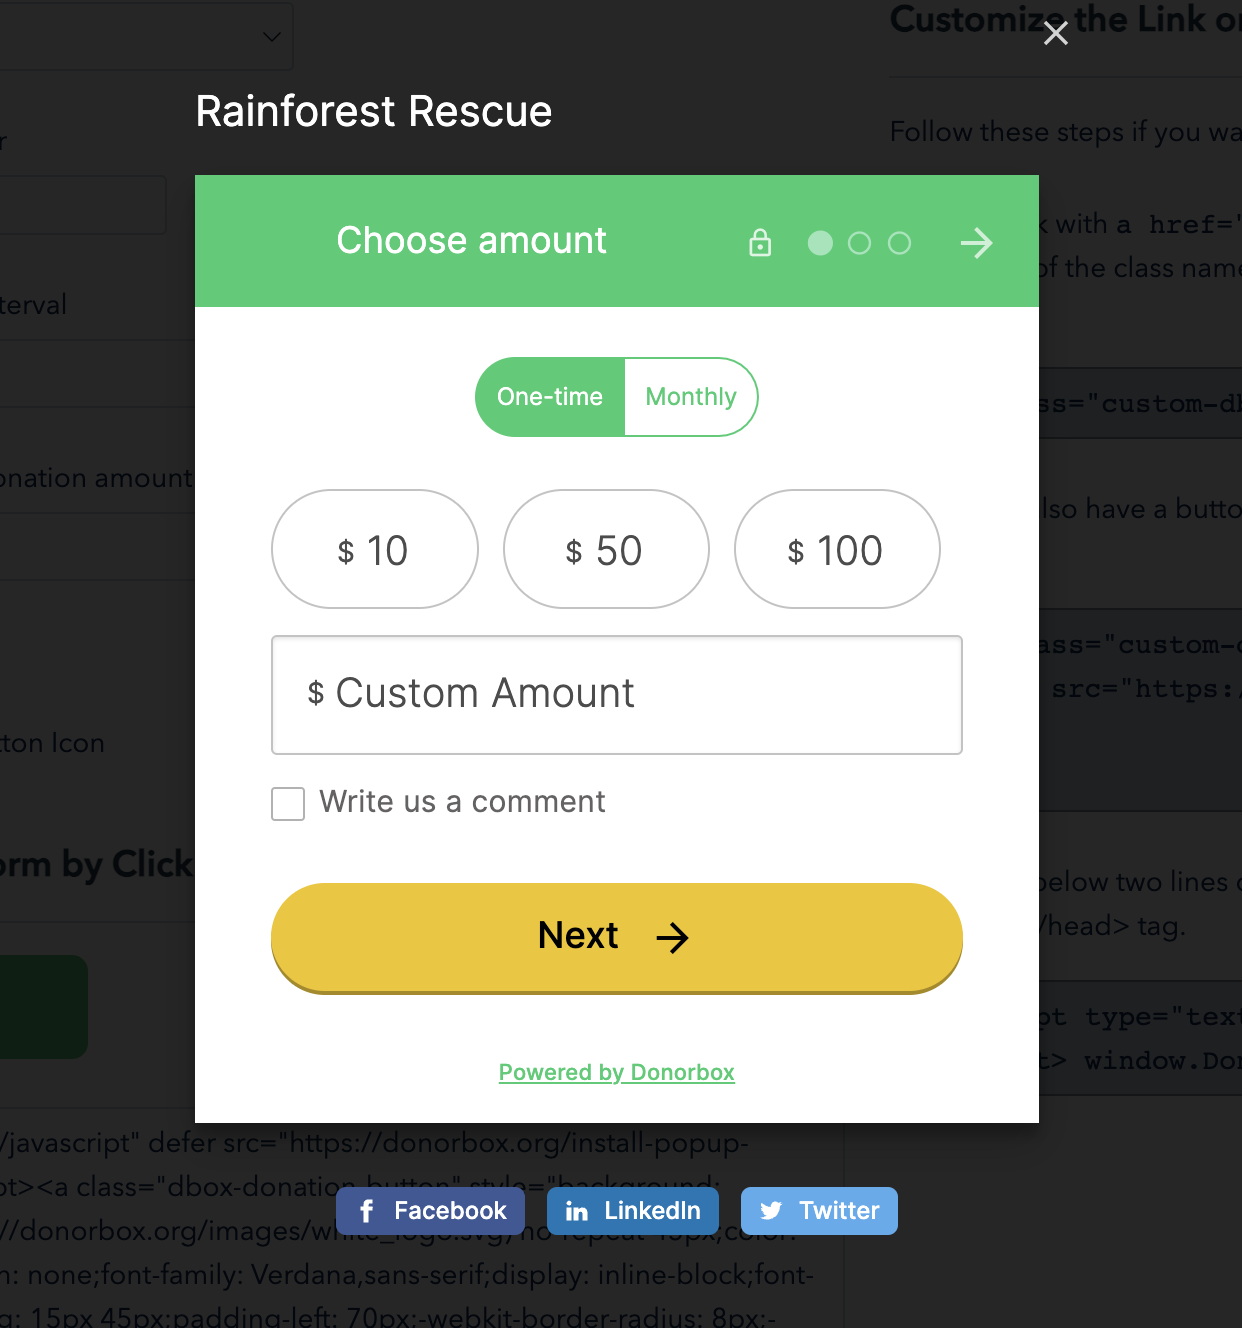
Our third option is the pop-up modal form. Instead of redirecting your donors to a separate donation page, you can make a donation form pop up, as an on-screen overlay, when someone presses the Donate button. This is a great way to collect donations without requiring your donors to navigate to a different page.
Click this Donate button to see how a pop-up form works:
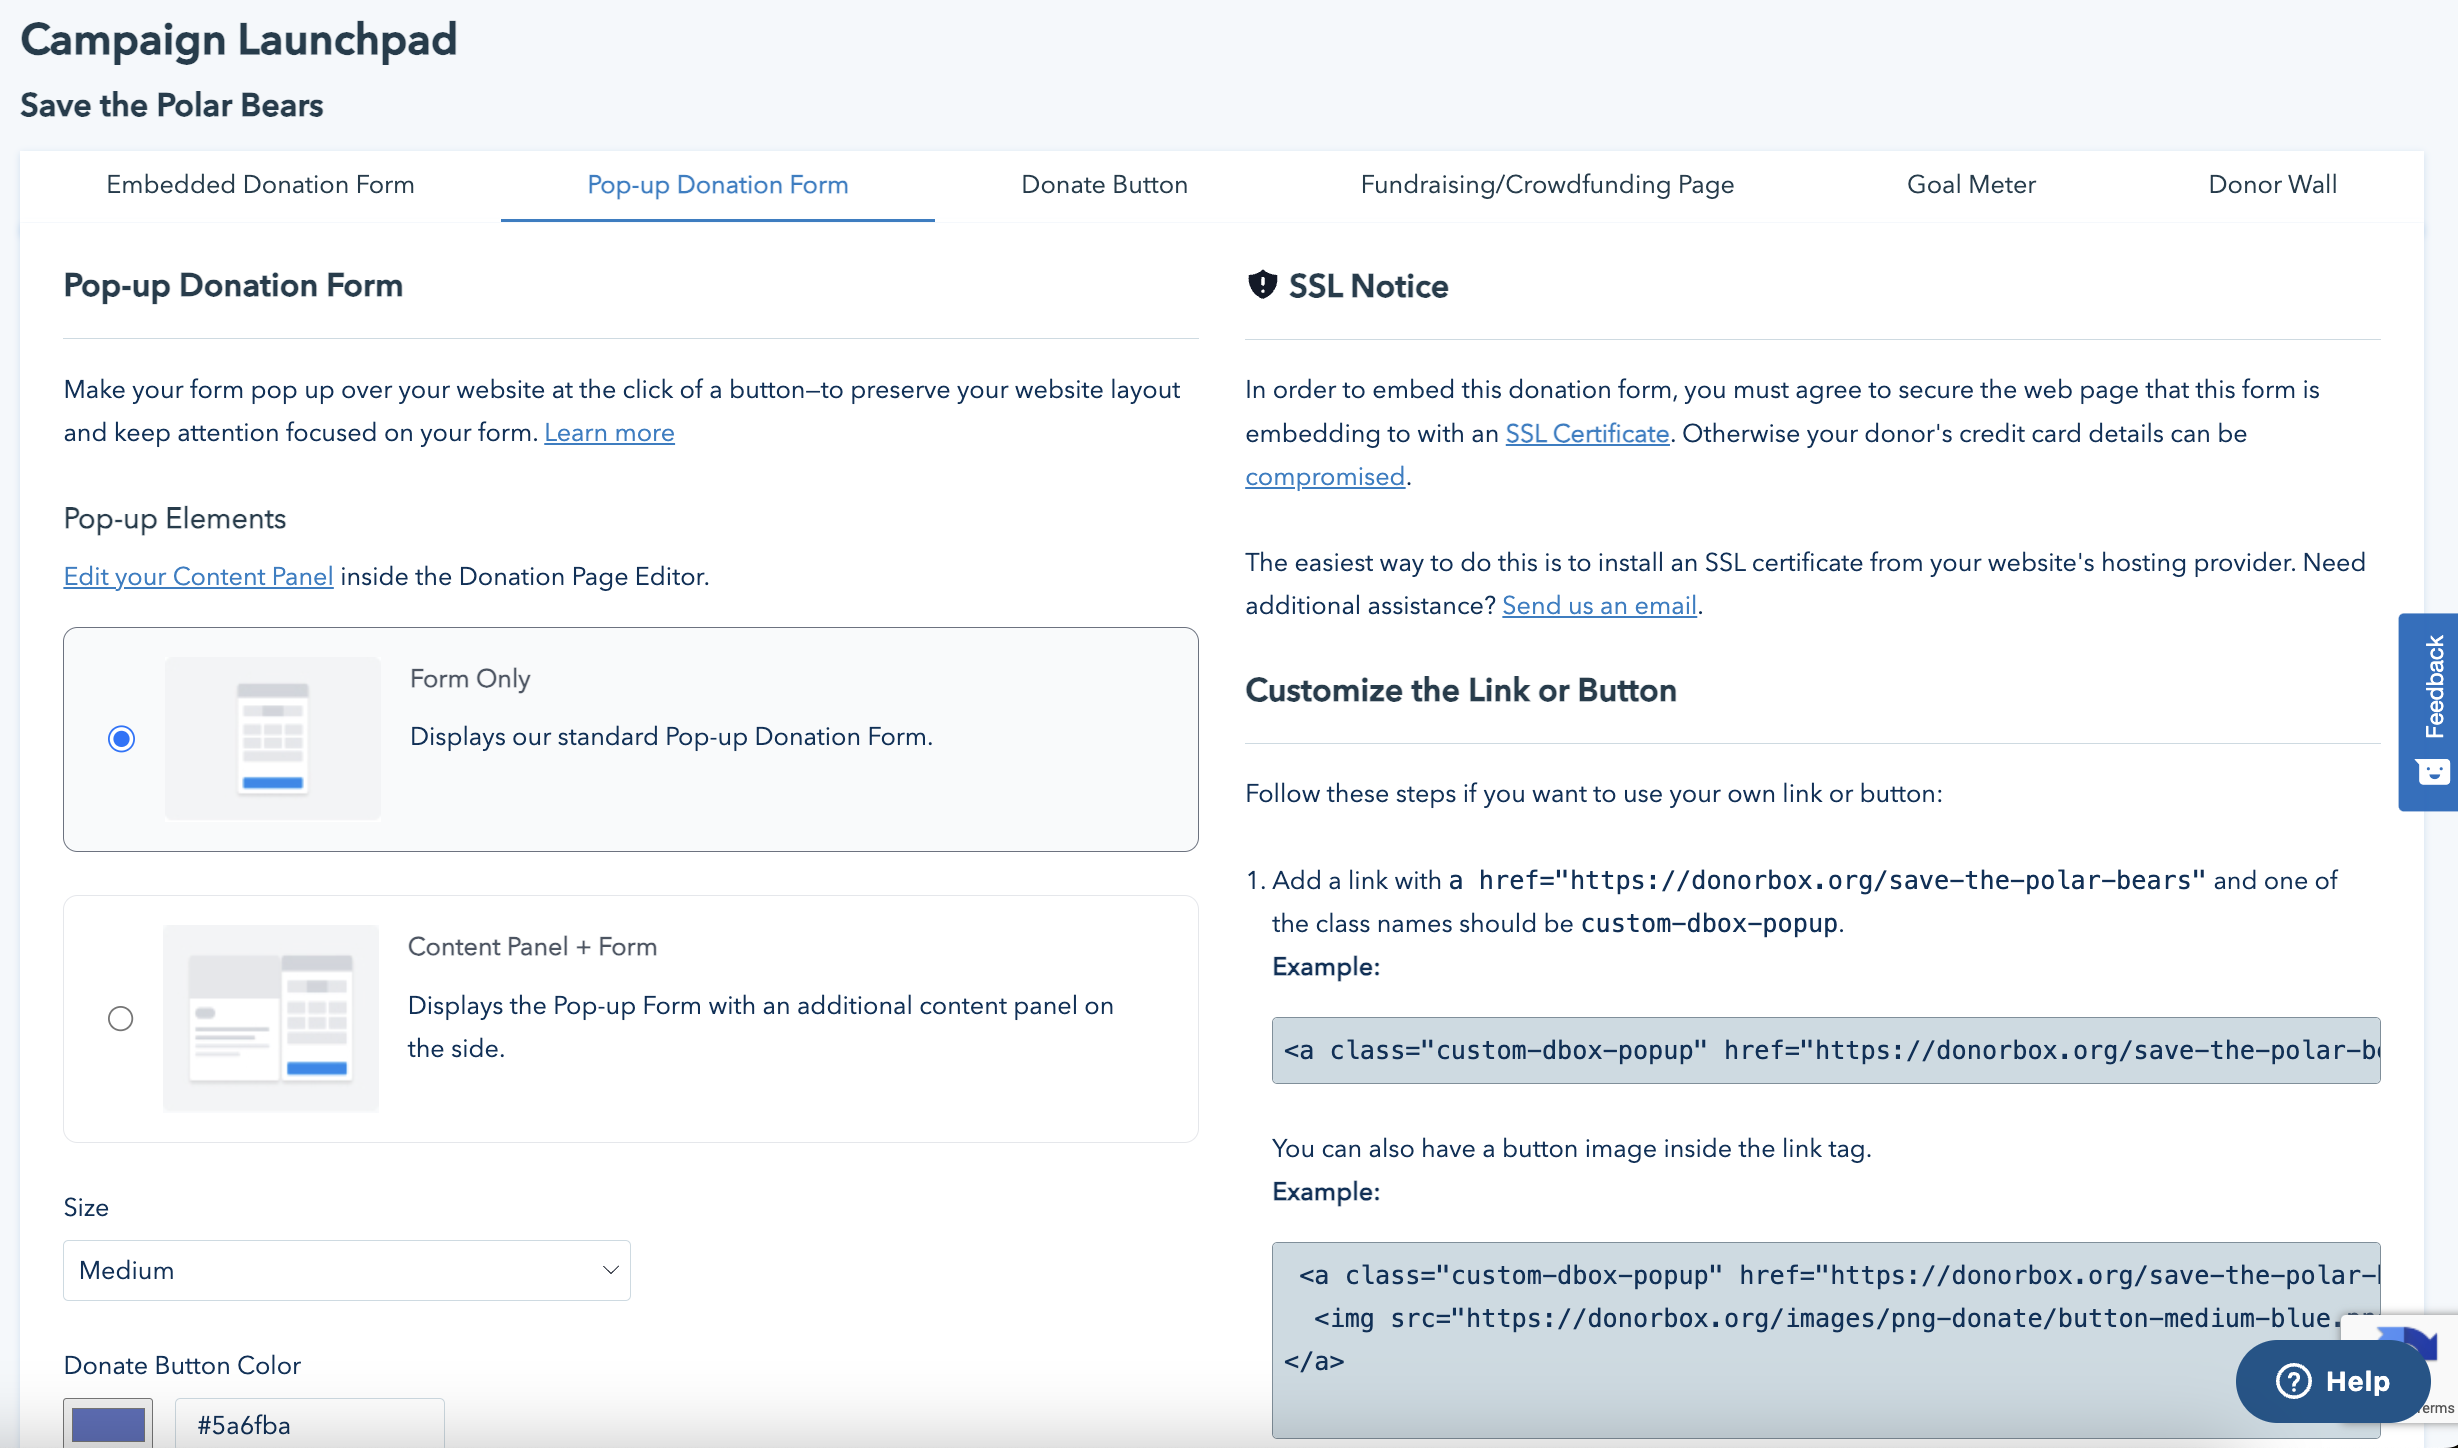
To add your pop-up form to your website, go to the Campaign Launchpad and click the “Pop-Up Donation Form Tab.” Here, you will be able to choose to include a content panel and customize your button. For more details on how to add a pop-up form to your website, check out our pop-up installation guide.
Additional Options
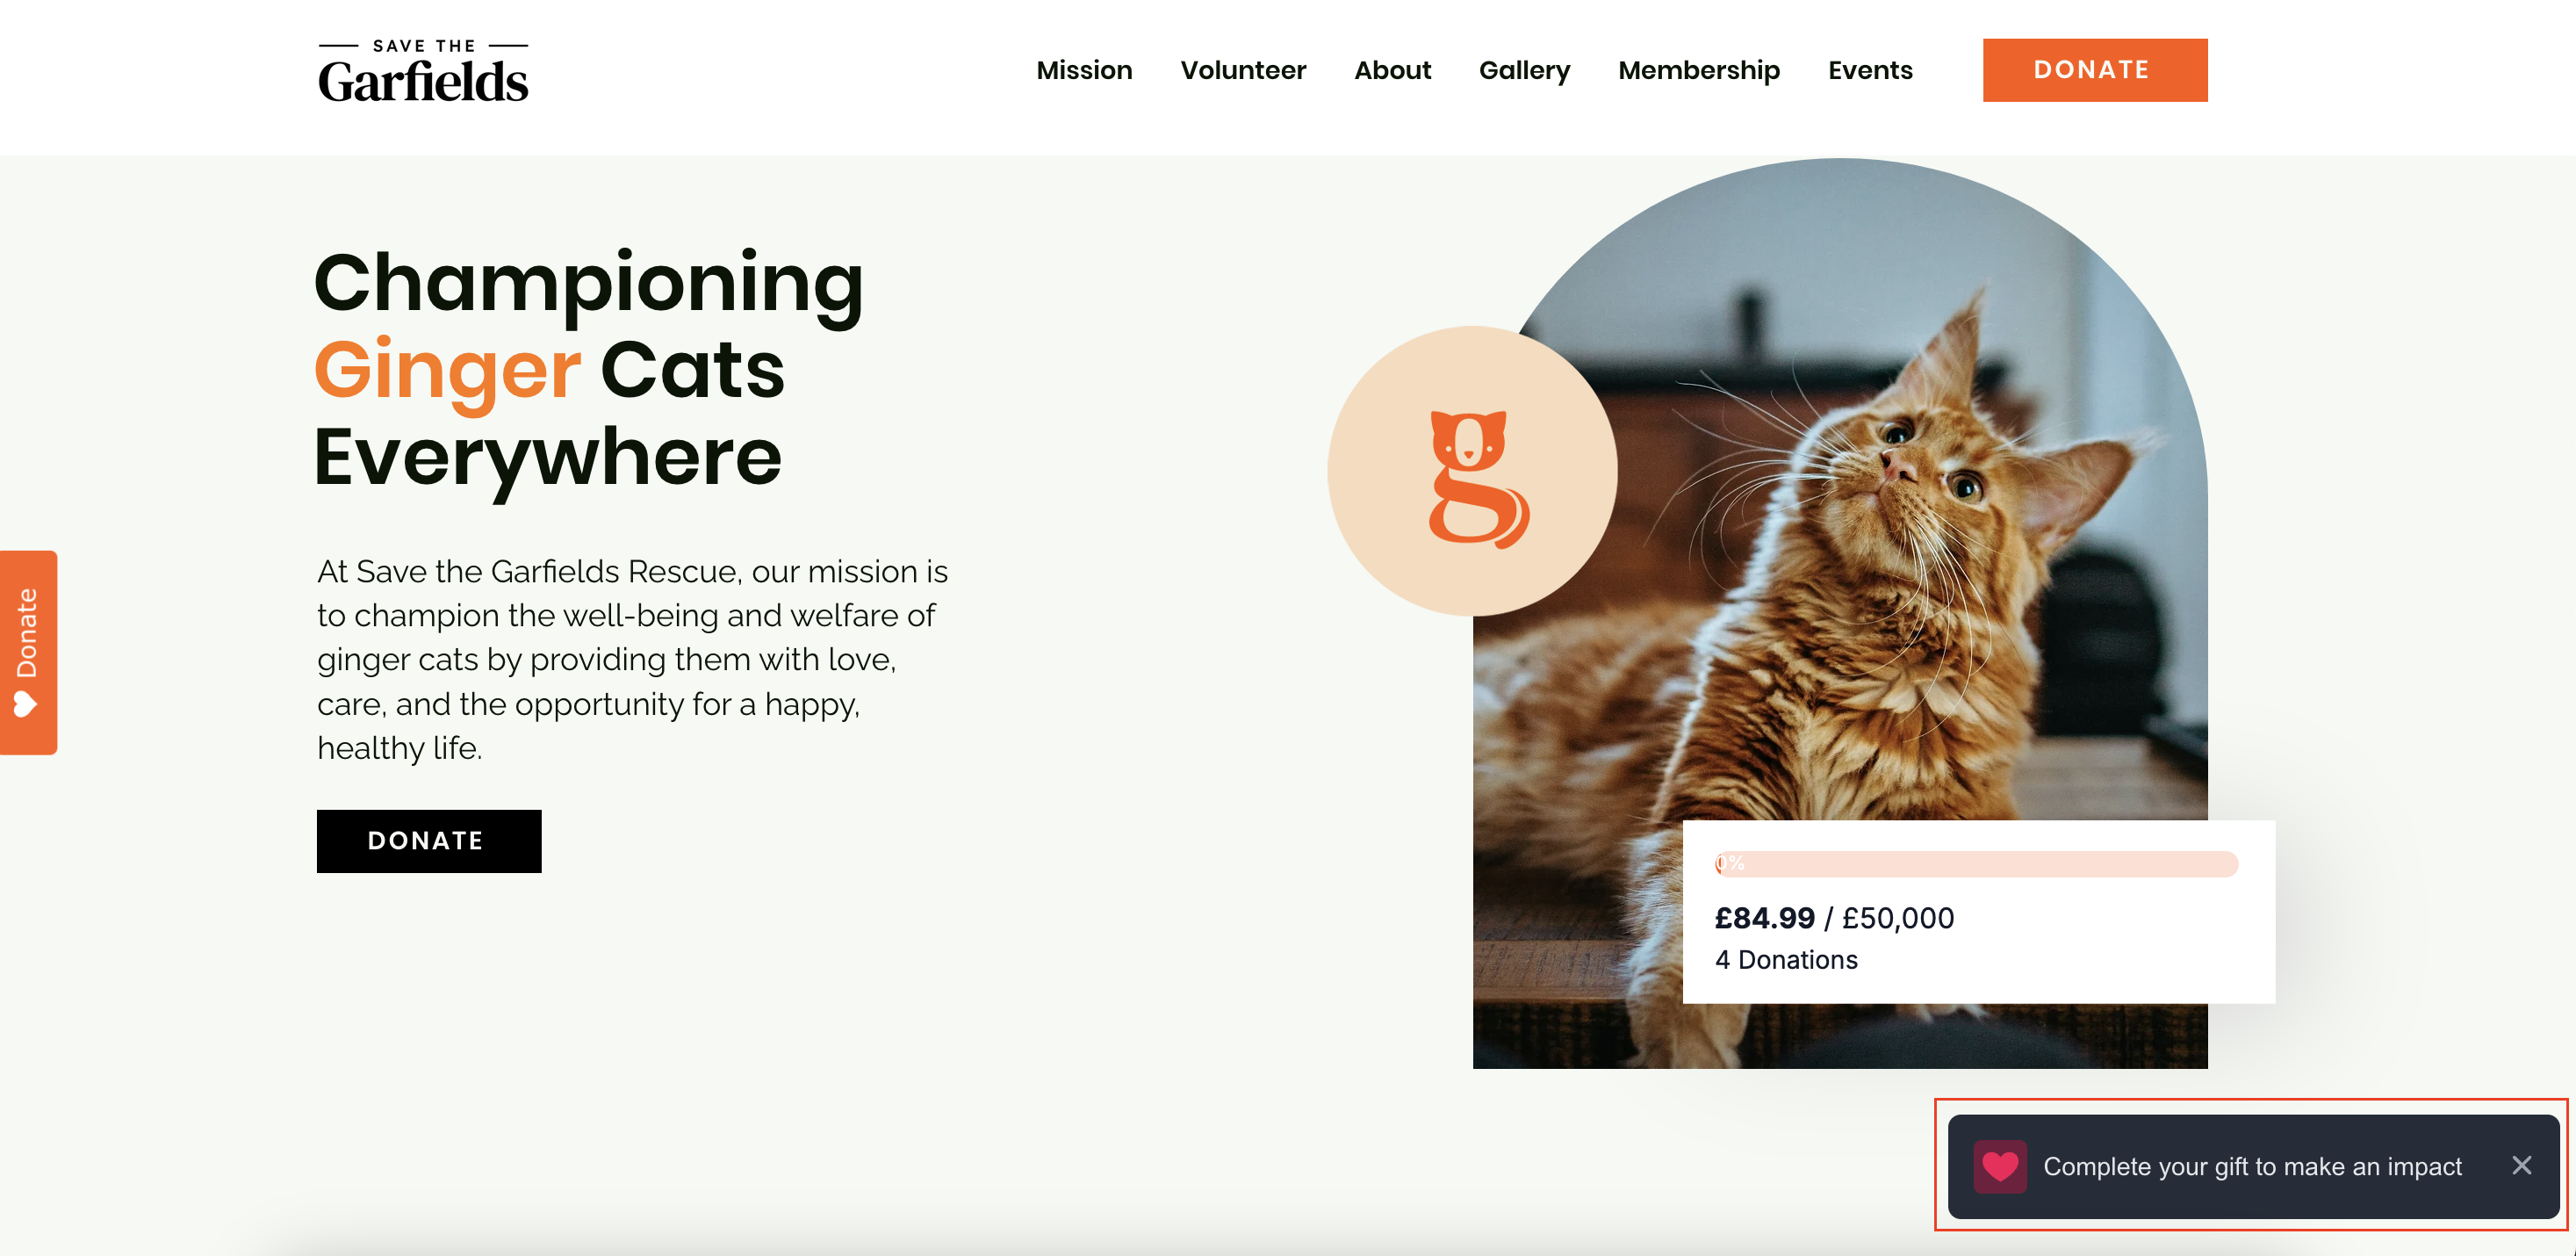
Draw your donors’ attention to your pop-up form with a Sticky Donate Button that anchors to the side of the screen. This can increase the amount of donations you receive by up to 50%!
You can also add a Giving Reminder to your pop-up form. Whenever someone interacts with your pop-up form but doesn’t complete their donation, they’ll see a gentle reminder in the bottom right corner of their screen. Here’s how it looks with both a Sticky Donate Button and Giving Reminder enabled:
4. Donate Button Linked to a Donation Page
You can use this donate button anywhere to take donors to your Donorbox-hosted donation page. It works great within emails too, if you want to include a PNG donate button as part of the email message. You can also turn your donation page donate button into a Sticky Donate Button.
To do this, simply return to your Campaign Launchpad and click “Donate Button” from the menu at the top.
Here, you have many options to customize the donate button so that it meets your preferences. Choose the size and color of the button, as well as the default recurring interval and the pre-filled donation amount, if you’d like to include one. Then simply copy the code for the CSS button and paste it into your website. For email and GitHub pages, copy the PNG image donate button code. Choose whether you want a button with or without a heart.
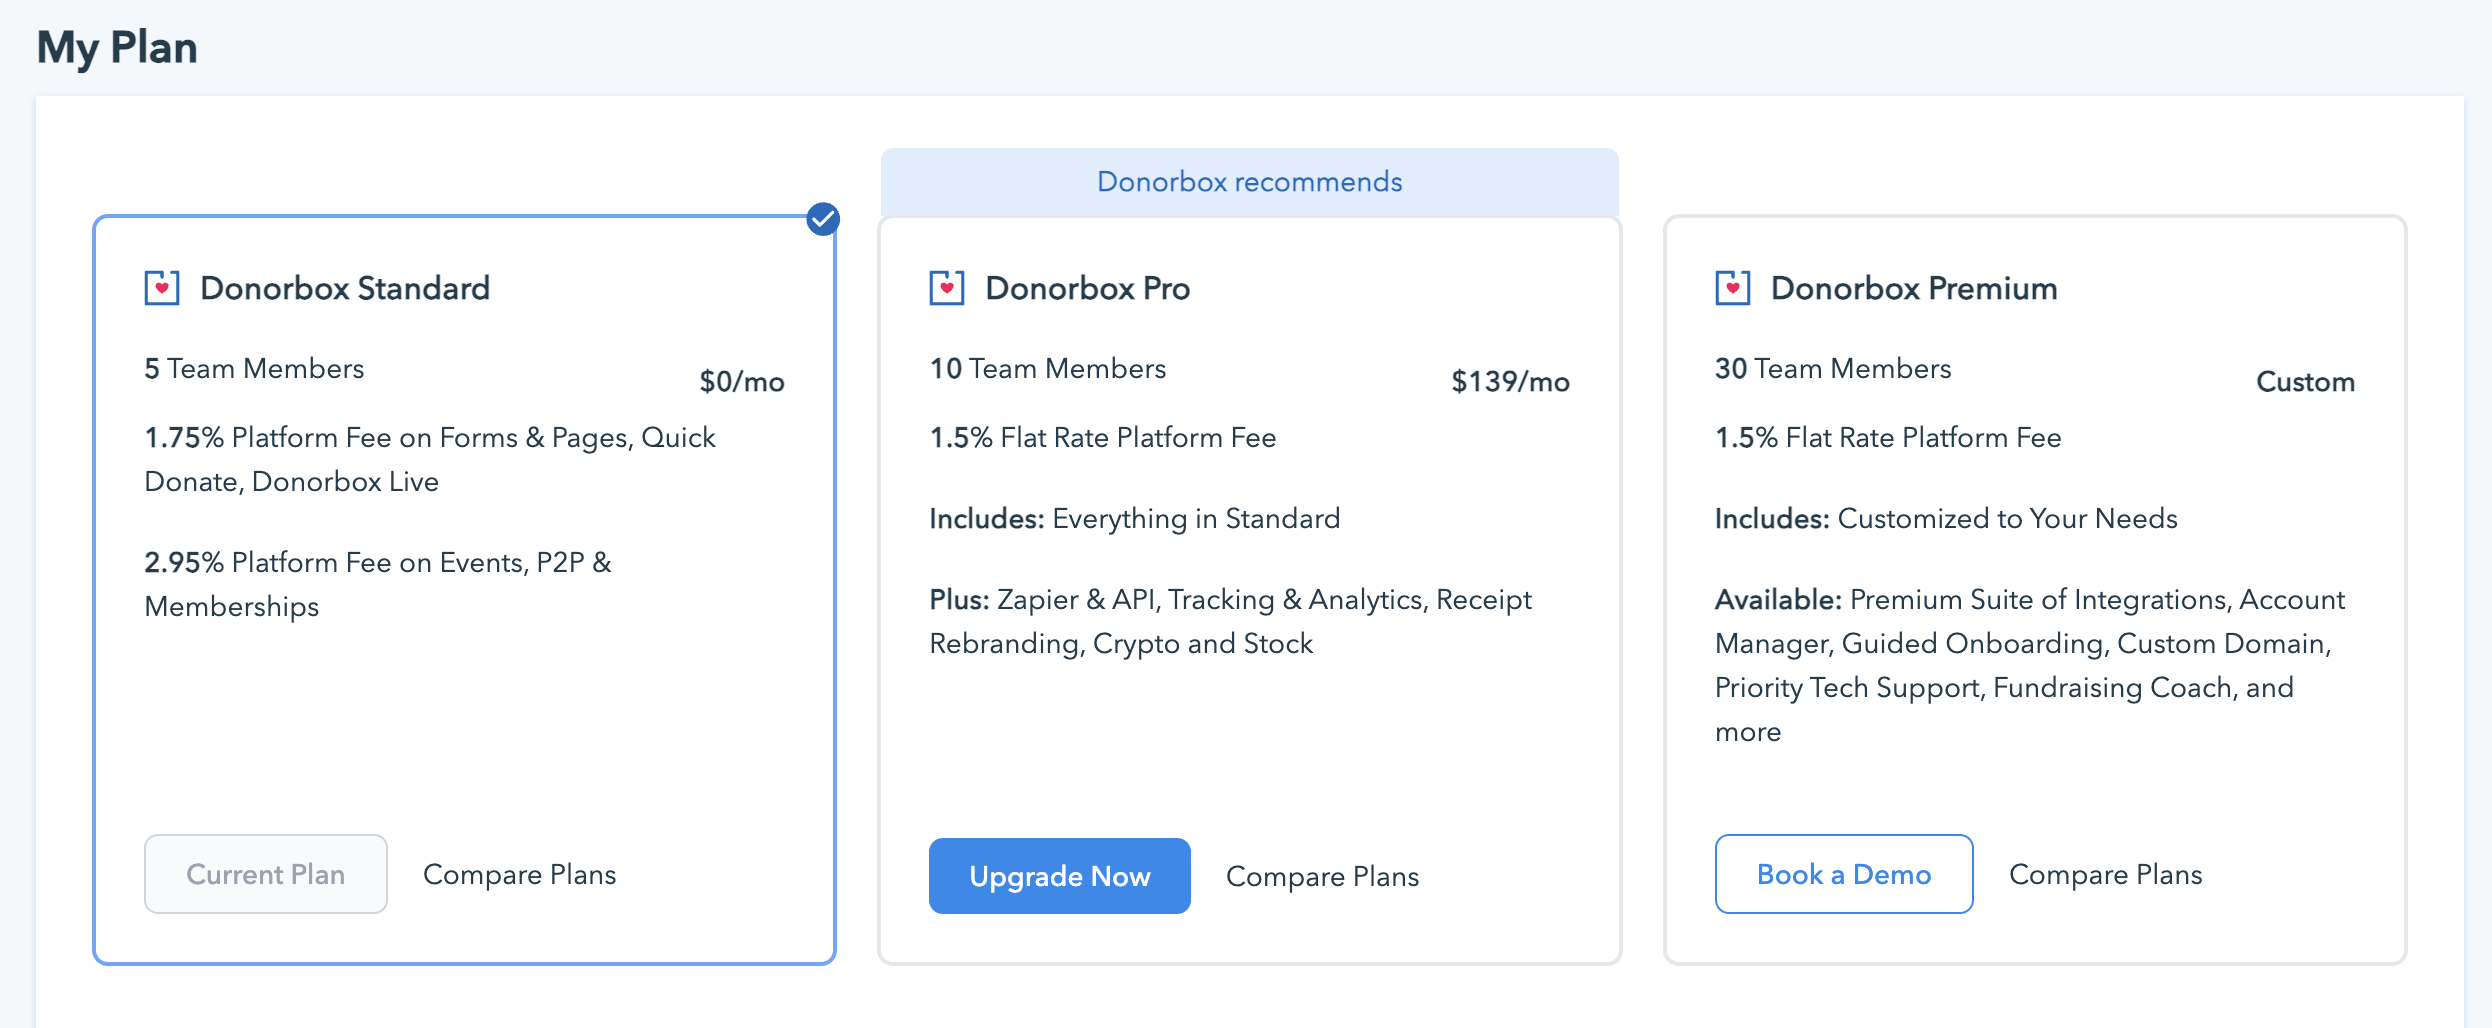
Manage Your Donorbox Plan
At any time, if you’d like to see information about your plan or learn about your upgrading options, navigate to your My Plan page. Under the Account tab on the left side of your Donorbox account, click “My Plan.” Here, you’ll see information about your current plan, your options for upgrading, the number of team members you have (and how many you have remaining), and any add-ons you currently have enabled. You can also see which add-ons are available to you so you can get the most out of your Donorbox account!
Over to You
And that’s it for our Getting Started Guide! We know you are going to love using Donorbox, and we hope this guide has helped you launch your next big fundraising campaign.
We have tons of fundraising tips on our Nonprofit Blog. Subscribe to our newsletter to get a monthly collection of tips and insights delivered to your inbox.
Feel free to check out our other how-to guides for more assistance. You can always drop us an email at any time – our legendary customary service team is happy to help!
Charles Z is the Founder and CEO of Donorbox. He has been starting companies and numerous web applications since college. Nowadays he is immersed and wildly excited about the future of the social impact sector.