Donation Designations – Giving Donors The Freedom to Choose
Empowering your donors to choose their donation designation can result in more gifts for your organization – and it can seriously streamline your workflow. It's easy to add donation designations in a dropdown on your Donorbox form. Read on to learn how!
It’s true – one of the top reasons donors choose to support a nonprofit organization is knowing the difference their gift will make in the lives of others.
Designated gifts make it possible for donors to not only select the nonprofit they would like to support but which element of that nonprofit they’d most like to make an impact on.
Keep reading to learn more about donation designations, and how they can help you empower your donors to be more involved in your cause.
What are Donation Designations?
Donation designations enable your donors to tell you how they want their gifts to be used by your organization.
Designated gifts are typically directed to one area of the organization, like a specific service, emergency response situation, or capital campaign. When donors designate a gift, you must use it for the program or fundraiser selected by the donor.
For example, a humanitarian organization may offer three programs that donors may designate their gifts for – their homeless shelter, food pantry, and rehab services. And a zoo may encourage donors to give to specific animals and exhibits.
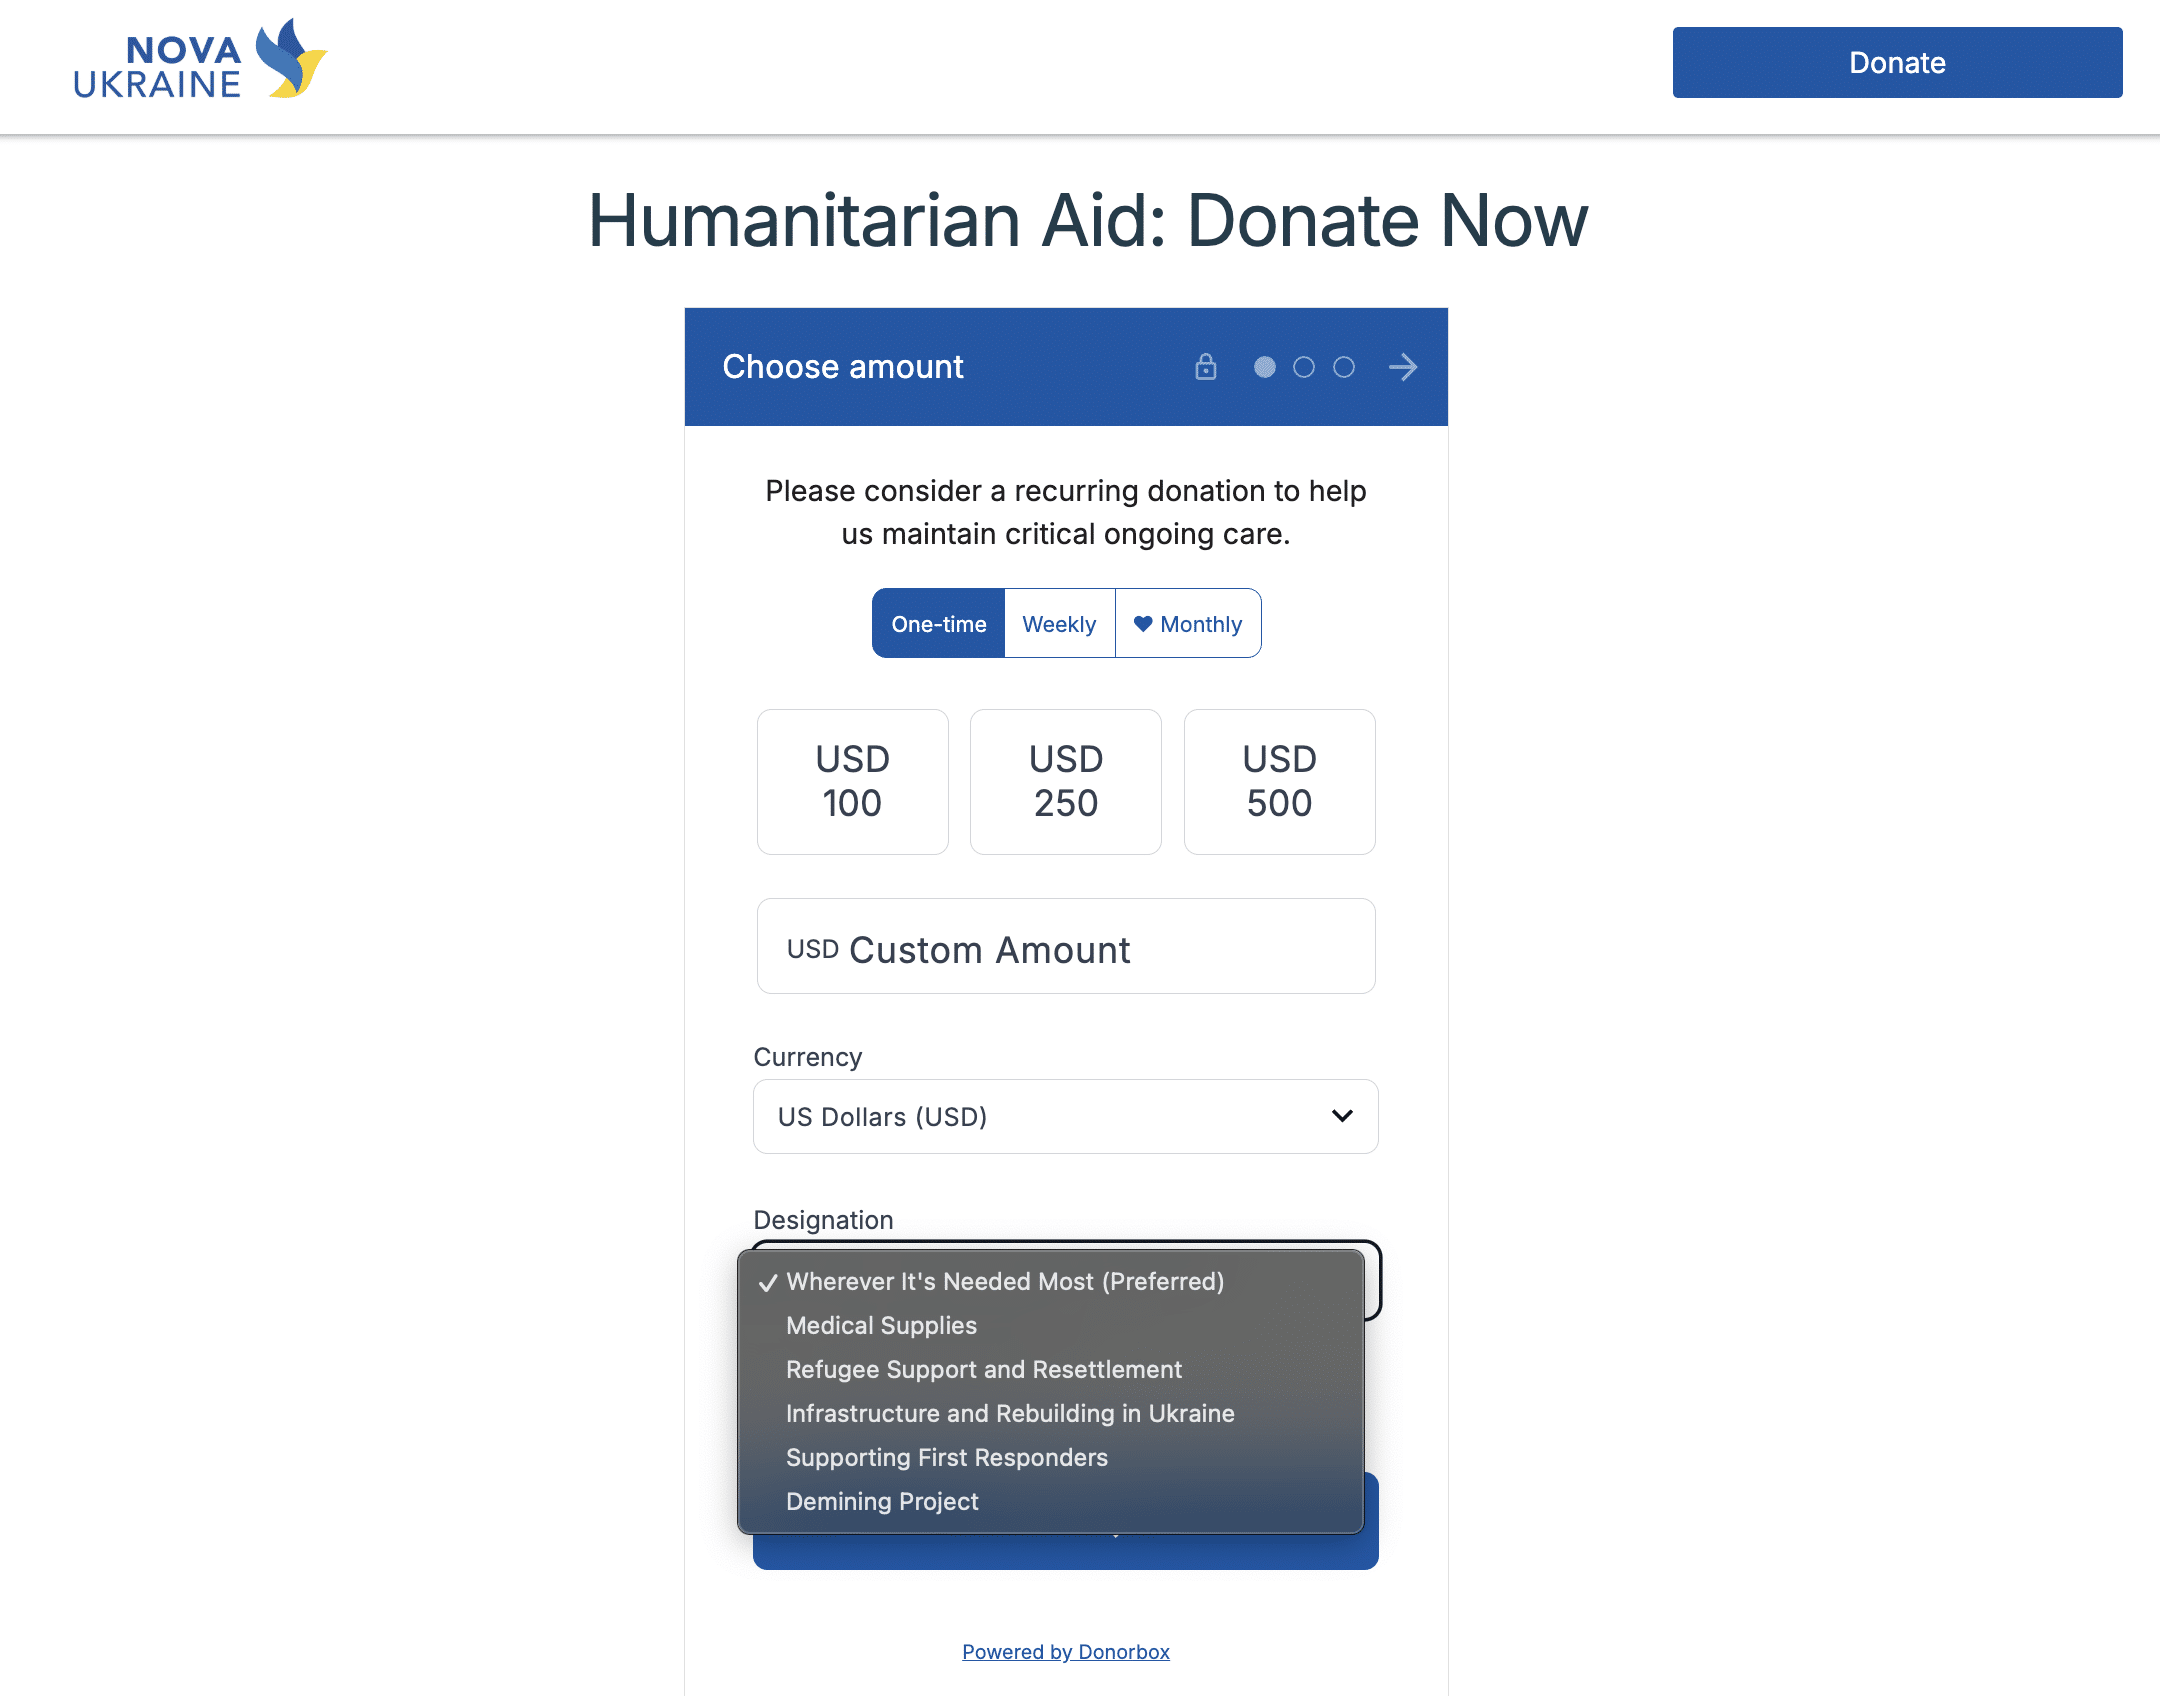
See how Nova Ukraine is using a customized donation form created on Donorbox to help donors direct their donations to one of the six areas of impact.
Why Should Nonprofits Offer Designated Donation Options?
While offering designated donation options may feel like you are placing limitations on gifts, it can be very beneficial to do so.
For one, enabling donors to choose the program or fundraiser empowers them to feel even more invested in their impact. And, when a donor feels invested, they are more likely to donate again.
It’s also easier to show the specific impact of a donor’s designated gift, and to segment donors for future appeals based on their giving history. For example, if a supporter donates to your summer camp program, you know to send them stories and photos from the camp as a thank you. And you can target them with appeals for the continued support of that program!
In addition, personal connections drive donations. And donors are more likely to connect with a specific service, such as a program that helped a loved one. A grandparent of a child who received medical care may give to help another in the same situation. And a volunteer who cared for adoptable dogs may donate to provide shelter for those animals.
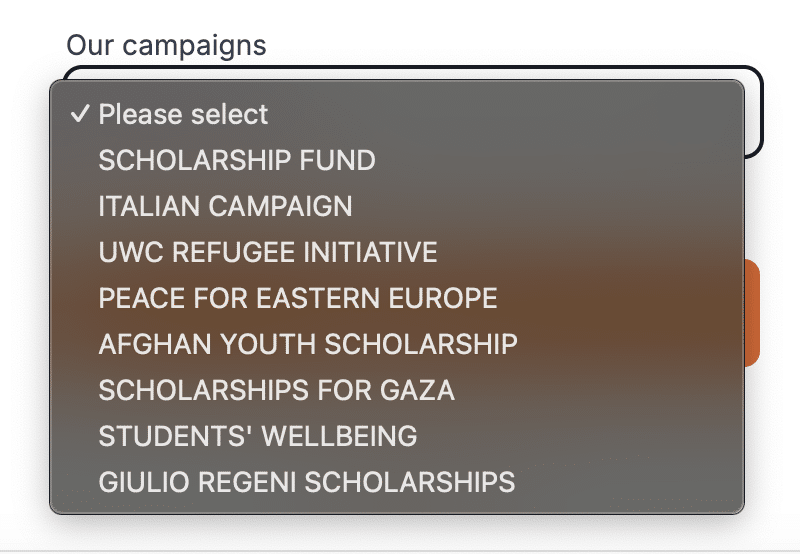
UWC Adriatic promotes multiple fundraising initiatives within one donation form by using a simple drop-down menu integrated directly into the form.
Pro tip: It’s always best to offer a ‘Where the need is greatest’ option so that donors can still opt to give unrestricted funds to your organization.
How Do Donation Designations Work on Donorbox?
It’s easy to implement designated gift options with Donorbox’s innovative fundraising form, and Donorbox Live™ Kiosk! Simply follow the steps below to add them to your form or giving kiosk and find designations on the dashboard.
Adding Donation Designations to Your Donorbox Form
1. Sign up for a Donorbox account
If you haven’t already, you’ll first need to sign up for a free Donorbox account here.
Donorbox doesn’t charge any set-up or monthly fees. You just pay a low platform fee (which starts at 2.95% for the Standard plan and is even lower at a flat 1.75% when you upgrade to higher plans) and payment processing fees per transaction.
Already registered with Donorbox? Click here to log in to your dashboard!
2. Create a fundraising campaign
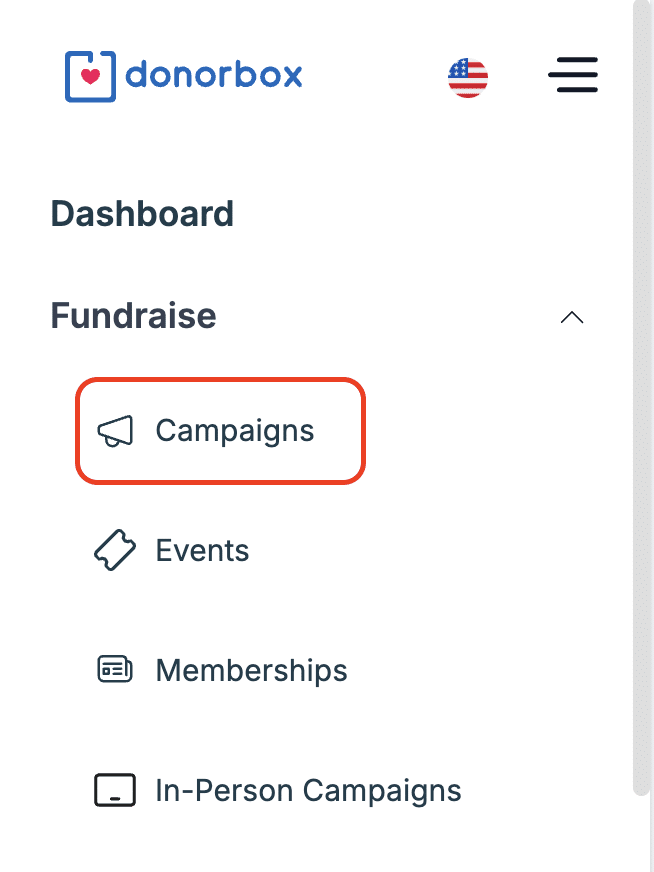
Click “Campaigns” as shown below.
Next, click the “+New Campaign” button on the top right to start creating your fundraising campaign.
We have a guide to help you get started with Donorbox. Follow the instructions in the article to create a donation form, connect your payment processor, and start using the campaign.
We have another article here to help you edit your fundraising page on Donorbox once you’ve created the campaign.
3. Turn on and edit donation designations
After you’ve created a campaign, select the “Edit Campaign” button for that specific campaign to enter the campaign editor.
From here, click “Edit Form” and then choose “Tributes” from the drop-down menu.
In the left-hand toolbar, find “Enable donation designations” and toggle it on.
When the options appear, you’ll need to add a “Designation label” – this will show as the title of this section on your form. Now, add your “Designation values.” Adding at least one is mandatory.
4. Save & share your new form
Once you’re happy with your choices, hit “Save and Preview” and your form will automatically populate with your new donation designation field and options. Plus, you’ll be able to see it in action in the “Preview Your Form” panel!
Be sure to share your new options with your donors through email, social media, and on your blog.
Adding Donation Designations to an In-person Campaign
Just like with Donorbox donation forms, adding donation designations to your in-person campaign is quick and easy! Once you’ve signed up for a Donorbox account, follow the below steps to sign up for Donorbox Live™ and enable donation designations on your campaign.
Step 1: Sign up for Donorbox Live™
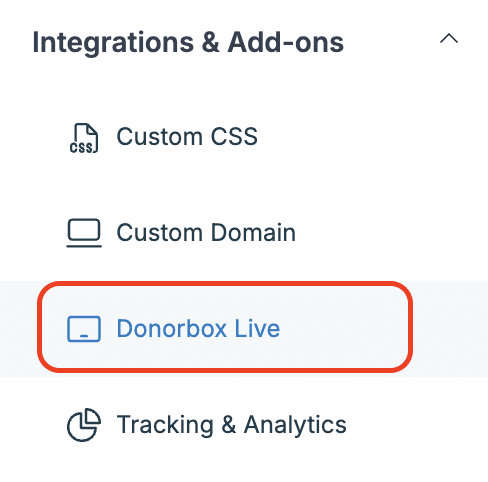
Log in to your dashboard and navigate to the “Integrations & Add-ons” section, where you’ll find Donorbox Live™.
Donorbox Live™ Kiosk allows you to turn your iPad, Android tablet, and Android smartphone into a mobile giving kiosk and start collecting cashless donations in person with a single tap, dip, or swipe!
Donorbox Live costs $50 a month for the first device, and $15 a month for every additional device you add.
Step 2: Create an In-person Campaign
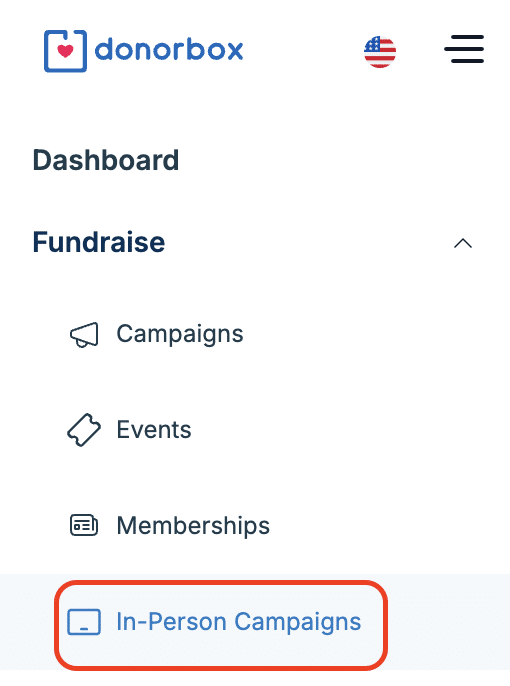
Next, create your in-person campaign by selecting “In-person Campaigns” and clicking on the “+New Campaign” button on the top right of your screen. Alternatively, you can simply edit one of your existing campaigns at any time.
Bonus resource: Check out our detailed step-by-step guide to setting up Donorbox Live Kiosk here.
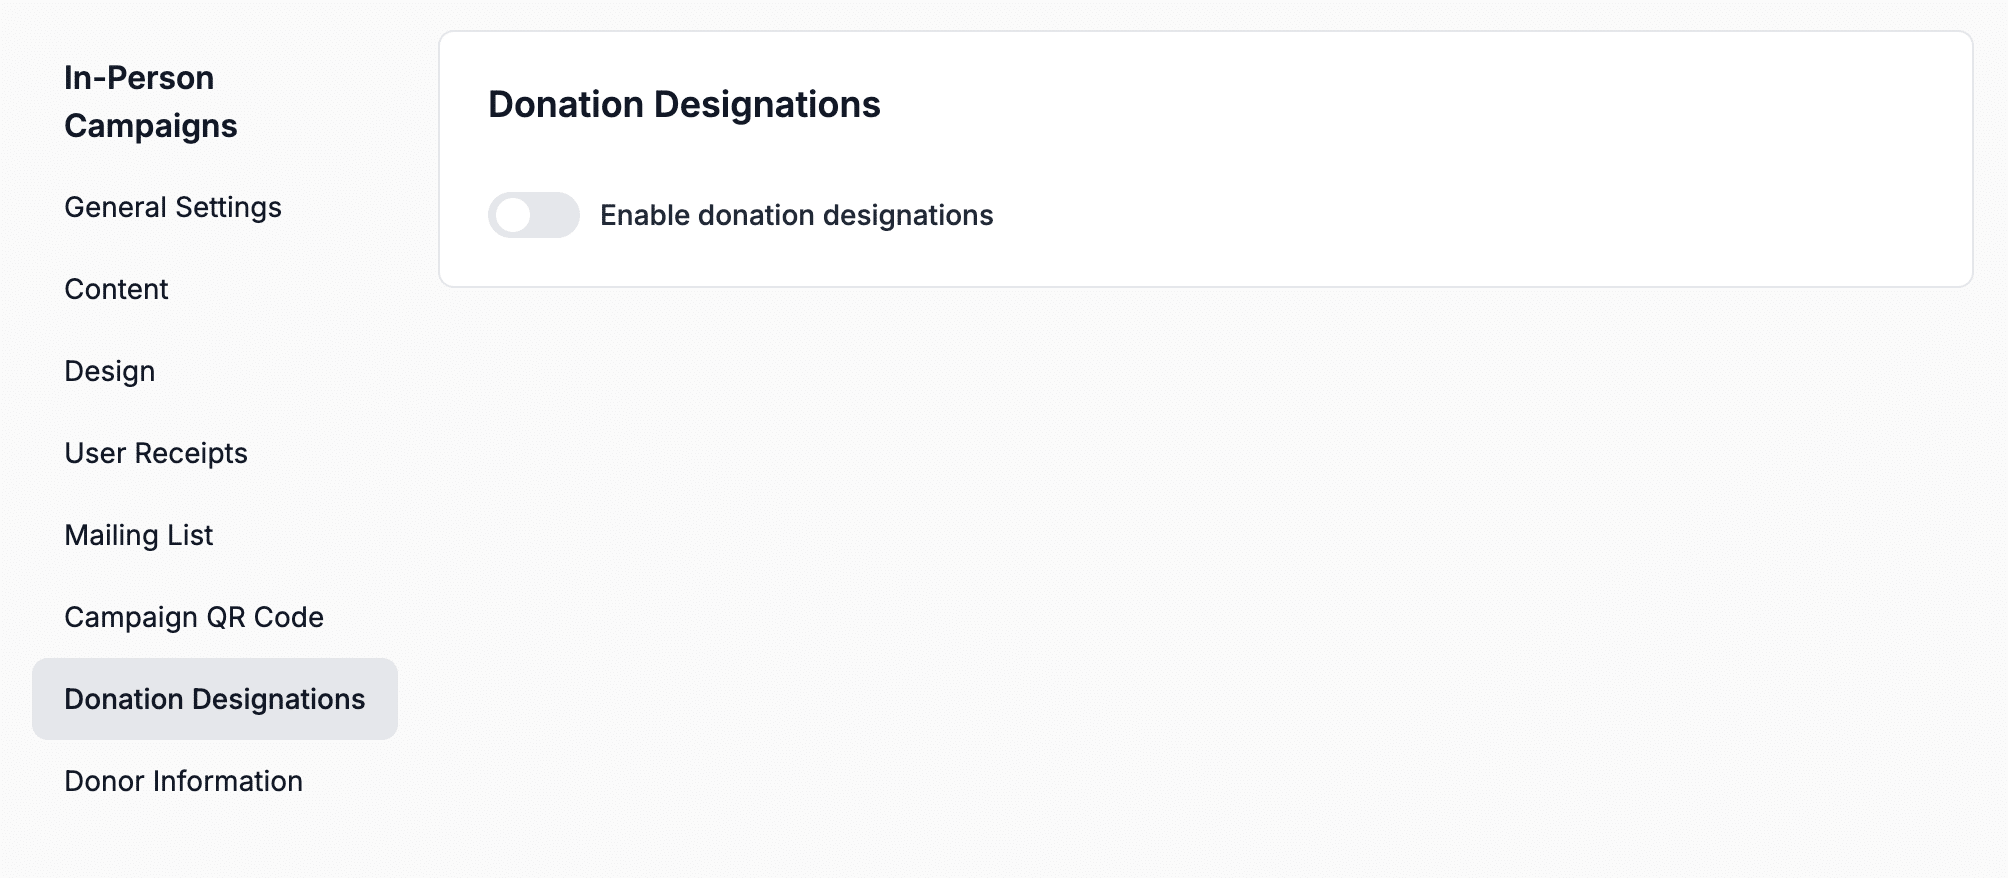
Step 3: Enable Donation Designations
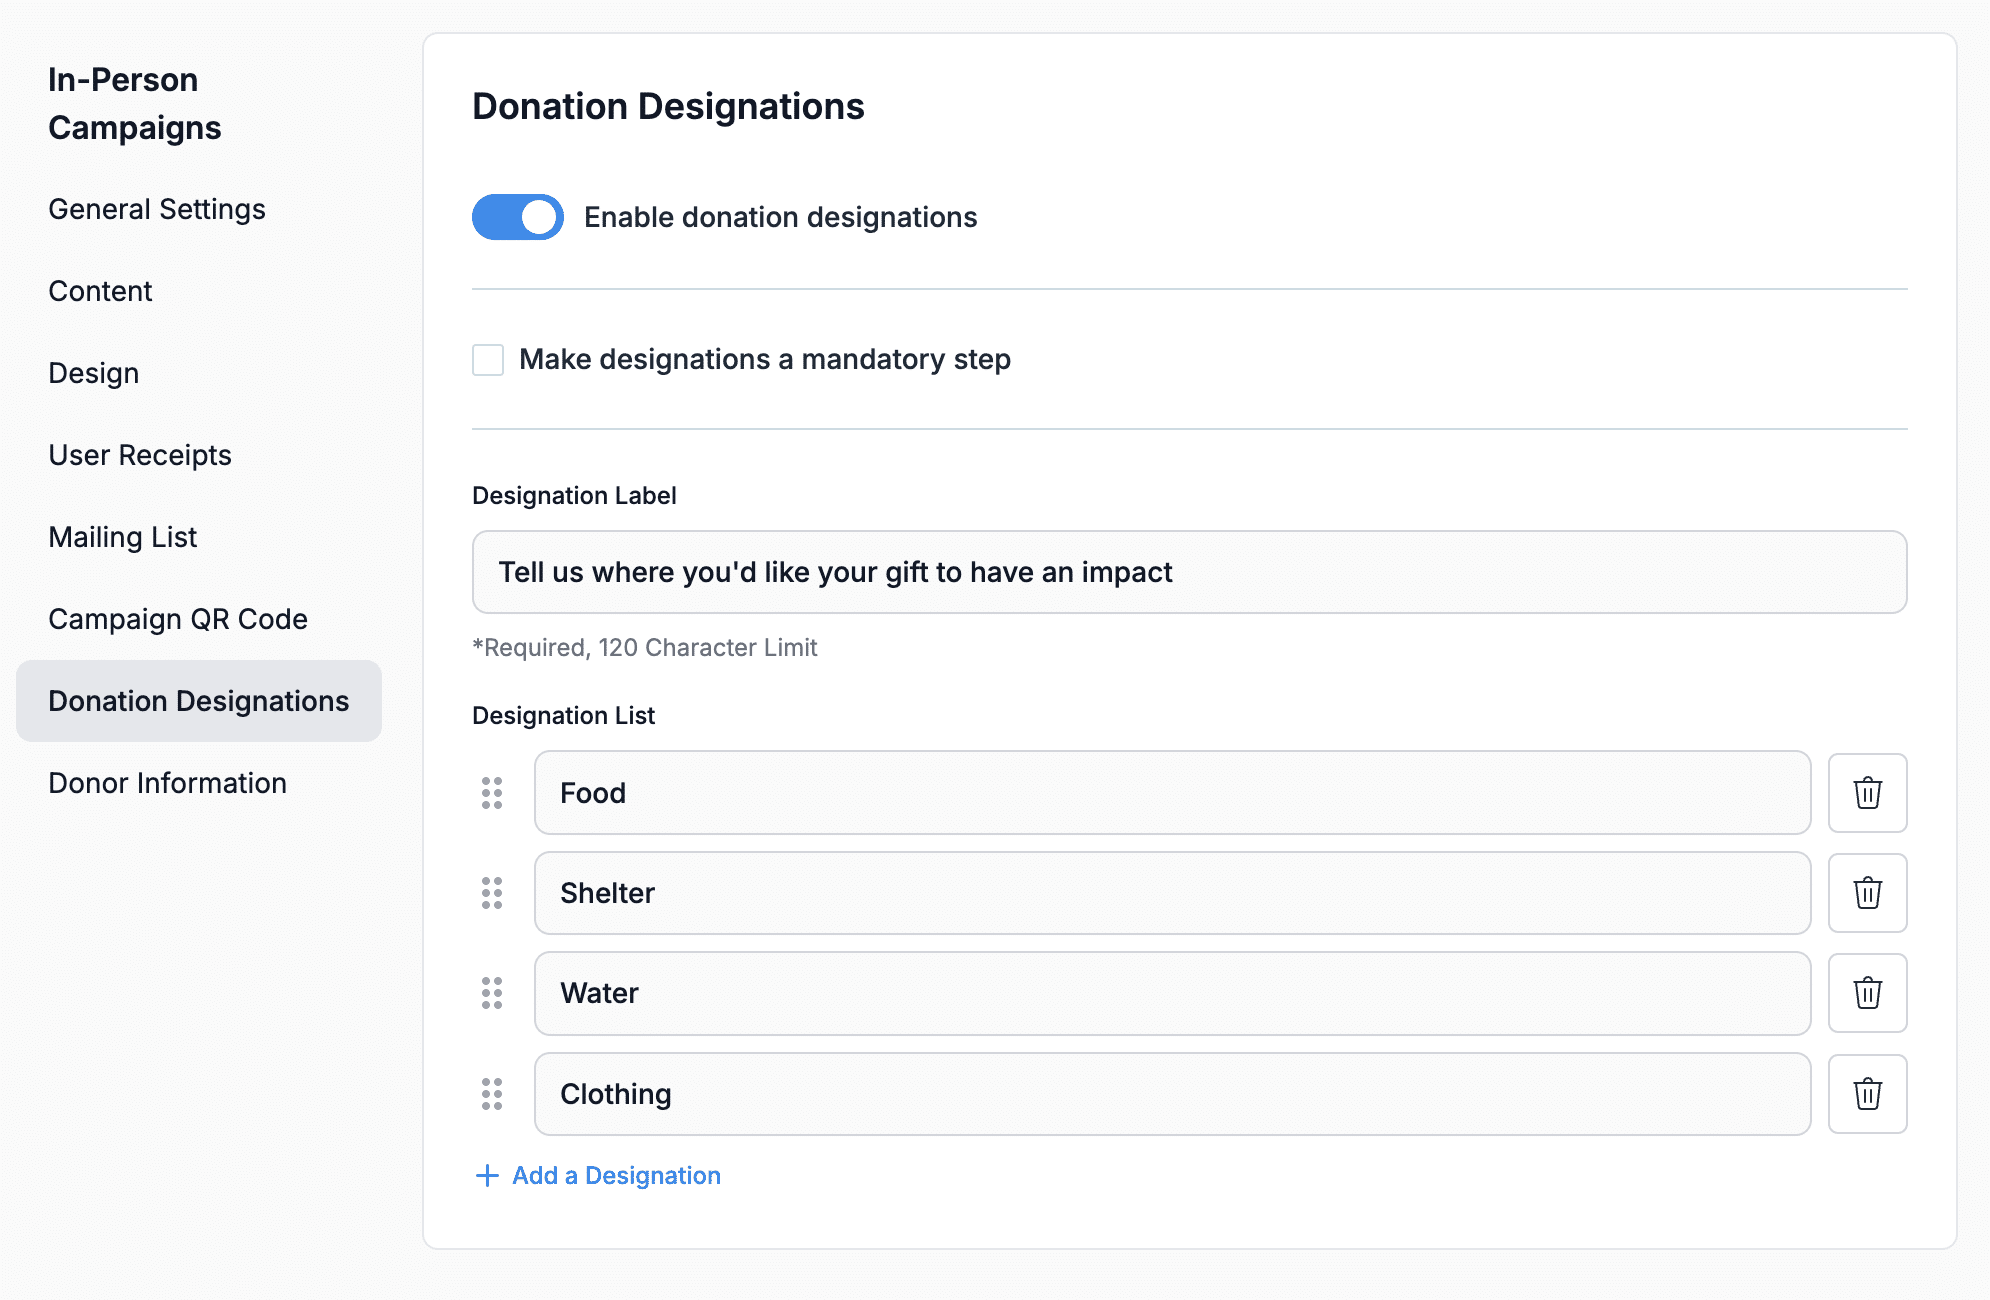
Toggle the switch to enable donation designations on your in-person campaign. You can also choose to make designations a mandatory step for your donors, which helps you streamline fund allocation!
Add as many donation designations as needed to empower your donors to give towards a specific area of impact for your campaign.
Step 4: Save and Start Fundraising
Once you’re satisfied with your changes, click on “Save Changes” and you’re good to go!
Finding the Designated Gift on a Donation Record on Donorbox
To find a designated gift on a donation record, first, go to the “Donations” tab in the left-hand navigation of your Donorbox dashboard. Here, you’ll be able to see all donations.
If a donation designation has been made for a gift, you will find it in the “Campaign & Designation” column. The campaign is listed first in blue, and the designation (if there is one) is listed second in black.
Final Thoughts
With donation designations, donors feel they have a more direct impact in an area of your organization to which they feel connected. It also provides you with a detailed giving history that enables you to better target thank yous as well as future appeals.
Sign up for a free Donorbox account and follow the steps above to start accepting designated gifts today! For those willing to take their fundraising and donor management efforts to the next level, we have a success plan called Donorbox Premium, which allows you to curate a package based on your organizational needs!
Read insightful blogs and guides on the Donorbox Nonprofit Blog. Subscribe to our newsletter to receive a hand-picked collection of our best resources in your inbox every month.
Kara has several years of experience in communications and marketing for nonprofit organizations. Her love for serving others began while fundraising for and attending mission trips. She then worked with multiple local nonprofits through various marketing agencies and volunteer opportunities before becoming a communications manager at Variety the Children's Charity of St. Louis for more than four years. Kara now specializes in writing and enjoys sharing her experiences and knowledge with others on this platform.