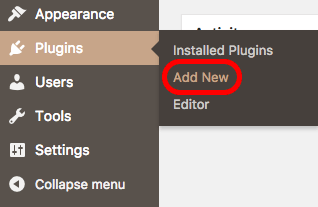
To begin, go to your WordPress dashboard. Find the “Plugins” tab on the left-hand sidebar and click “Add New”.
Step 2
In the WordPress plugin search bar, type “Donorbox” and press enter.

Step 3
Once you have found the Donorbox WordPress donation plugin, click “Install Now”.

Step 4
Once the plugin has been installed, click to activate it.

Step 5
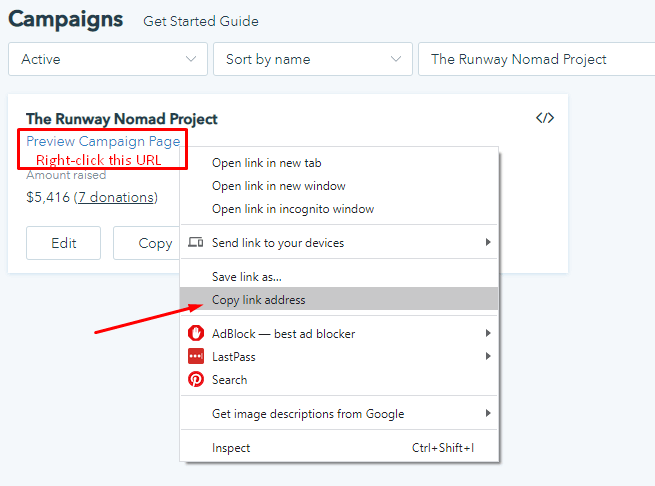
Now, go to your Donorbox campaigns page and find the campaign you wish to embed on your WordPress site. Right-click the “Preview Campaign Page” link and select the “Copy link address” option.
Step 6
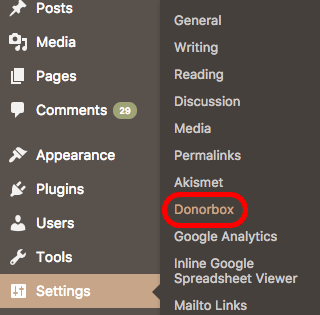
Head back to your WordPress dashboard. In the left-hand sidebar, click on “Settings”, and then “Donorbox”.
Step 7
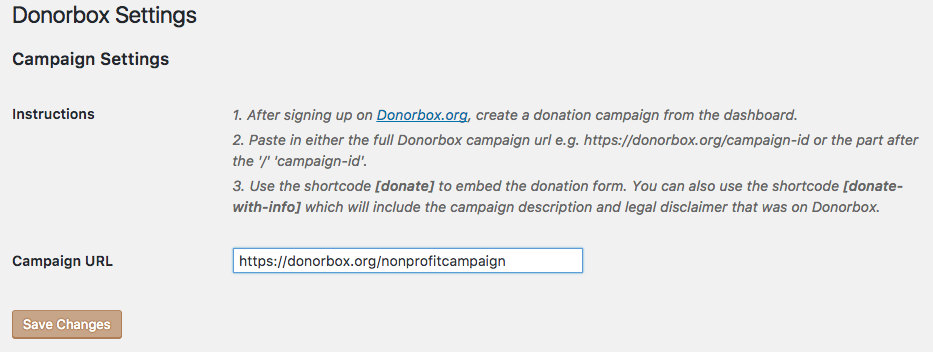
Paste your campaign URL into the appropriate textbox, and click “Save Changes”.
Step 8
Go back to the WordPress page editor of your donation page.
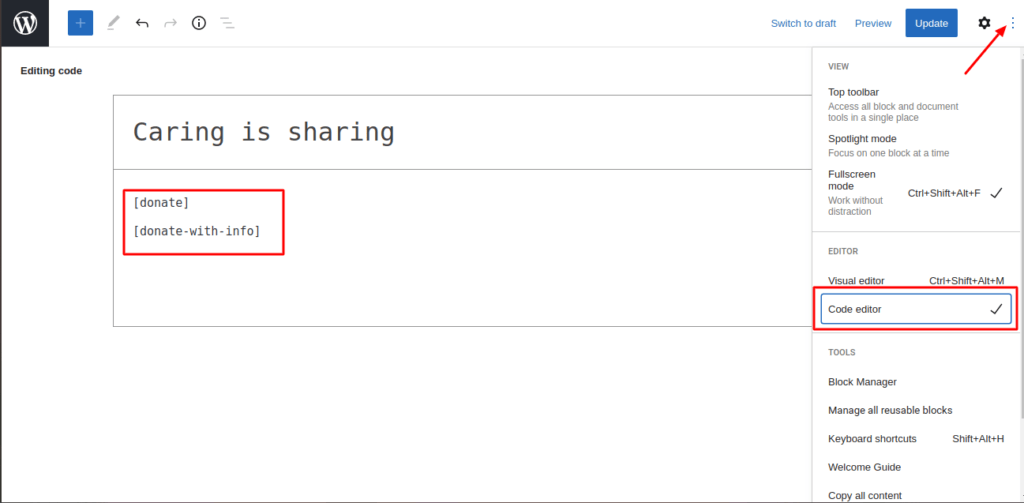
Make sure you are on the text editor for your post (and not the visual editor). Type in one of the following shortcodes to embed the donation form using the WordPress donate plugin:
• [donate]
• [donate url="nonprofitcampaign"]
• [donate url="https://donorbox.org/nonprofitcampaign"]
• [donate-with-info]
• [donate-with-info url="nonprofitcampaign"]
• [donate-with-info url="https://donorbox.org/nonprofitcampaign"]
Here are a few things to keep in mind during this process:
- Don’t forget to replace “nonprofit campaign” with your own campaign name and URL.
- If you choose to use one of the shortcodes with a URL, then that campaign URL will be used. Otherwise, the default URL you entered in the plugin settings will be used.
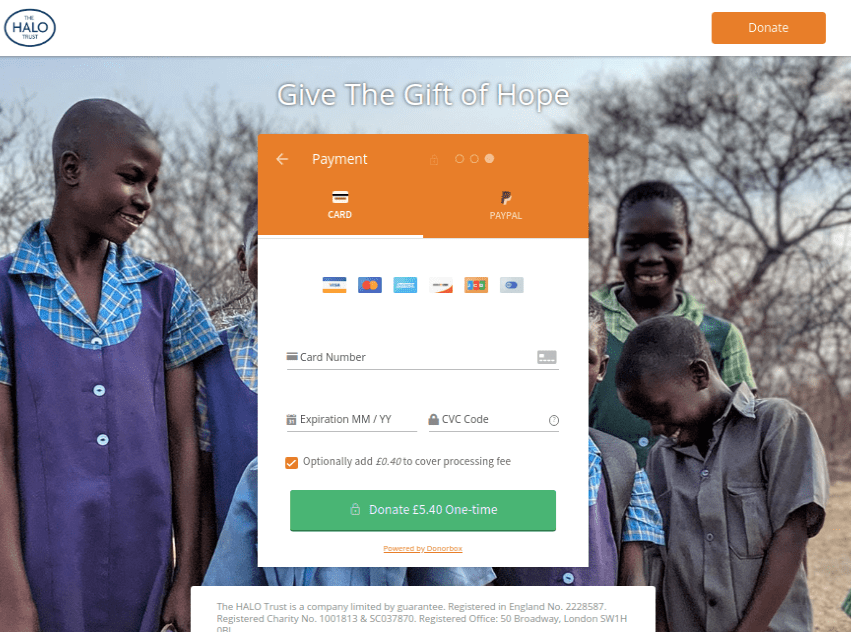
- Using one of the [donate-with-info] shortcodes will include the campaign description and legal disclaimer that you drafted on Donorbox.
In the old editor, this is how it will appear:
