Ghost.org is a popular blog platform with an easy-to-read formatting style that lets the user focus on the content’s text instead of settings and tags. This tool is a great option for organizations who already have a donation website but want to start a blog. Check out three simple ways to integrate your Donorbox form into a Ghost post.
The Ghost.org blog platform has become increasingly popular recently. People love it because of its minimalistic look. It focuses on blogging only. Ghost.org is a great option if you already have a donation website and/or if you’re only looking for a blog.
Ghost uses Markdown, an easy-to-read formatting style. It lets the user focus on the content’s text, without being cluttered by too many settings and tags.
Ghost is simple but also quite functional. Integrating a Donorbox donation form into your Ghost post is pretty easy. There are 3 ways you can do this. You can embed a form, a Donate button, or set a form to pop up within your post.
Option 1 – Embed a form in Ghost
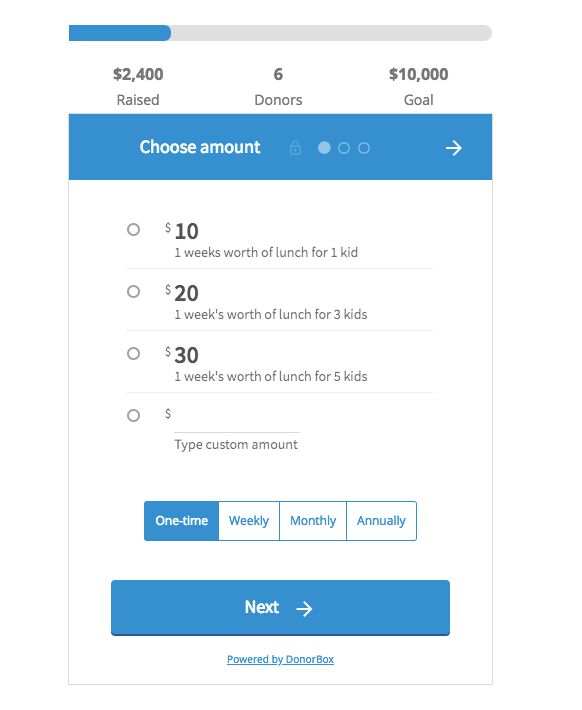
The donation form will show up as part of your blog’s content.
Option 2 – Add a Donate Button
A Donorbox Donate button will appear in your post. When the reader clicks it, they will be redirected to a customized and secure Donorbox donation page. You can read more about our awesome SSL-enabled donation pages here
Option 3 – Integrate a Pop-up Form
A Donorbox Donate button will be displayed, as before. But, instead of redirecting to a donation page, your form will pop up on the screen you’re on.
Whatever way you choose, Donorbox has made the whole process quite simple. All the code will be auto-generated for you. So, all you have to do is just copy and paste.
So, let’s get started.
Step 1:
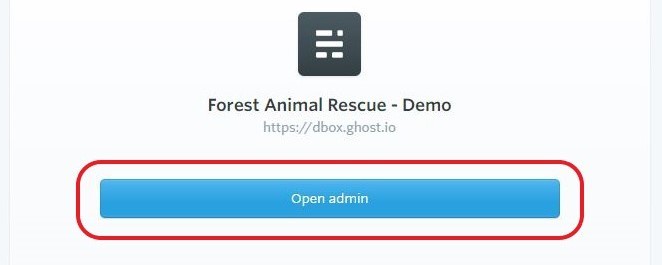
Log into your Ghost.org account. Click “Open Admin”, as shown below.
Step 2:
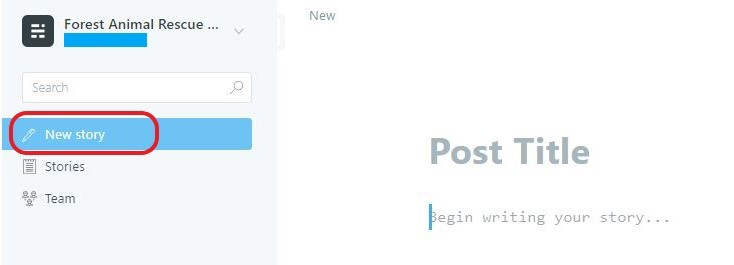
If you’d like to create a new post, click the “New Story” link.
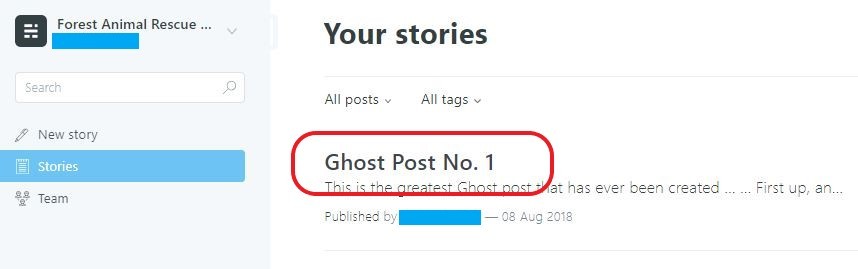
Or if you want to edit an existing post, then click the title of that post.
Step 3:
Once your Ghost post is opened in edit mode, the next step is to integrate the Donorbox donation form into it.
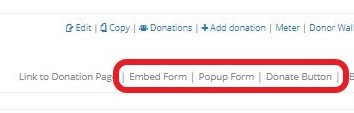
To get your auto-generated code, simply log into your Donorbox account. In your Dashboard , you will see a list of your campaigns. You’ll find a set of links for integrating your forms, next to each campaign, as shown below.
If you want to embed a form, as shown in Option 1, click on the “Embed Form” link.
If you want a Donate button, as shown in Option 2, click the “Donate Button” link.
If you want a Popup Form, as shown in Option 3, click the “Popup Form” link.
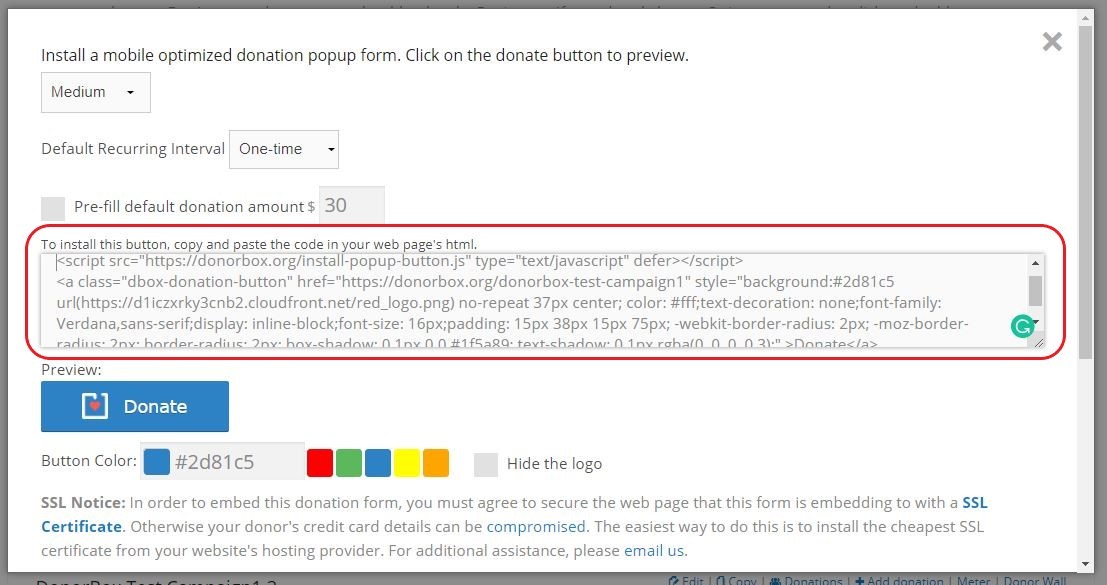
A screen will pop up showing the auto-generated code, including settings that you can customize and a preview of what it looks like. You’ll see the code change as you adjust the settings to your liking.
Step 4:
Highlight and copy the code, as shown in this example.
Step 5:
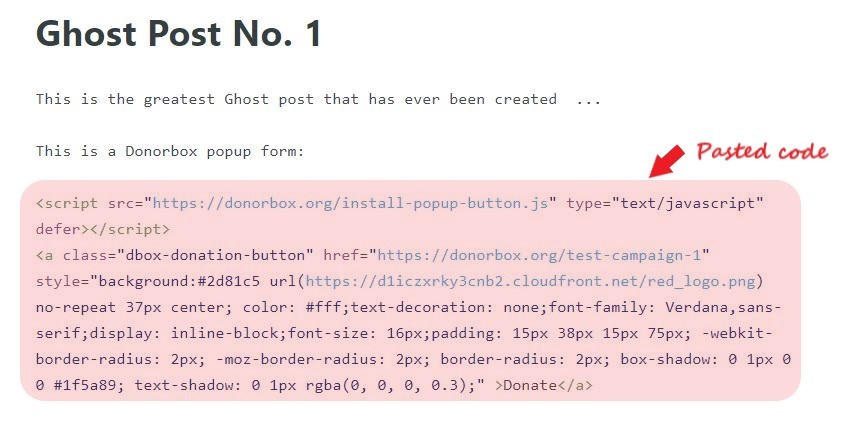
Go back to your Ghost post (in edit mode). Paste the code in the post body, wherever you want the Donorbox form or button to appear.
All that’s left is to save your changes. Click the Update link in the top right corner. You can check your post to see if it shows up the way you want it to.
And there you have it! Your Donorbox form integrated into your Ghost blog. If you need any help with this, you can always contact us at . Our fantastic Support Team would love to help you out.
Rebekah is the Head of the Customer Success & Intelligence team at Donorbox, ensuring nonprofits and individuals receive the best support at all times. Under her guidance, Donorbox is able to create friendly and meaningful relationships with their customers.
 Rebekah Doty